
Construct your own swimming pool - DIY pool set 50 m²
Kit for constructing a swimmingpool 50 M²
KIT50020062
In stock
In this kit you will find all the products to build your own fiberglass reinforced polyester pool.
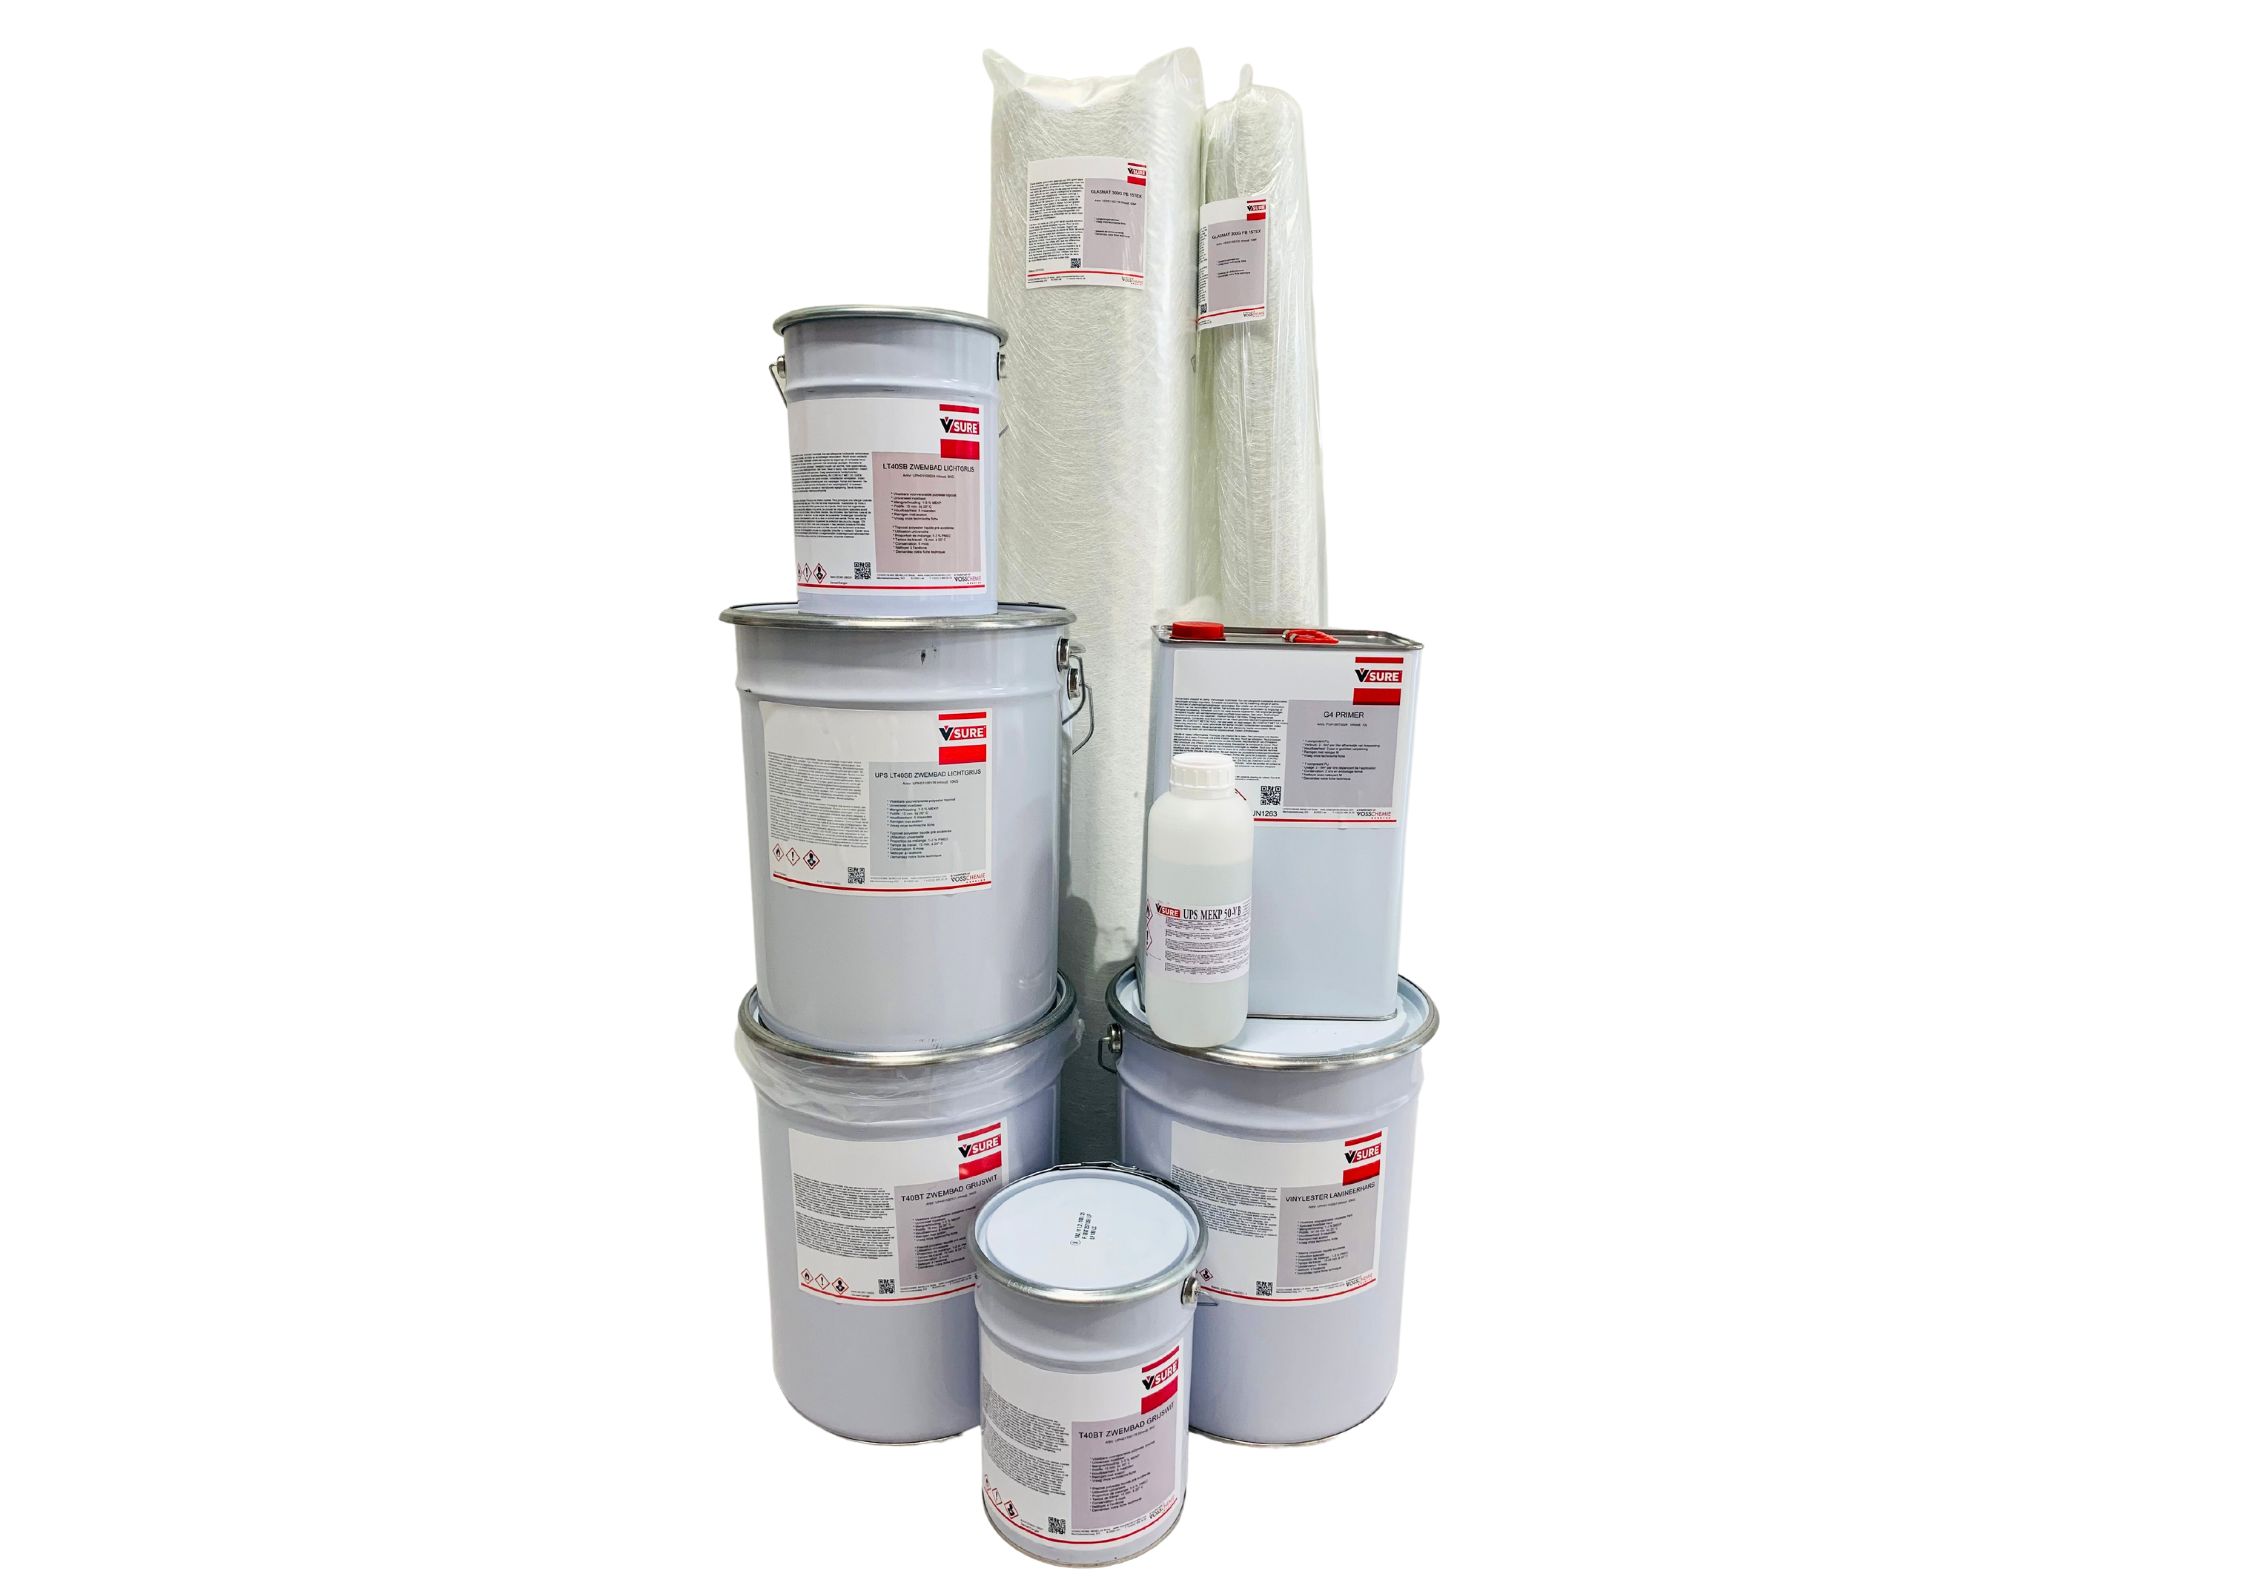
This kit contains:
- 1 x G4 Primer 10 l
- 5 x H35/ISO resin 20 kg
- 1 x Glass mat 300 g PB 15TEX 60 m²
- 4 x Glass mat 300 g PB 15TEX 10 m²
- 1 x Precoat T40BT RAL 9002 5 kg
- 1 x Precoat T40BT RAL 9002 10 kg
- 1 x Topcoat LT40SB color of your choice 5 kg
- 1 x Topcoat LT40SB color of your choice 10 kg
- 3 x Harder MEKP 1 kg
Kit with accessories available separately.
Available in set of 50 m² and 80 m² and in 5 colors.
€1,845.87 / set
 Online advice
  Fast delivery from stock
  Guaranteed V-sure quality
  Direct from manufacturer
 - Pick-up 24/7 in pick-up box
Applications
Usage
Follow these steps for the construction of a polyester pool
STEP 1: Preparing the substrate
Before starting to build a polyester pool, it is best to check the ground. You always need a stable substrate such as concrete or brickwork. The substrate must be dry and the concrete must be 28 days or older, so that it is completely dry. During the construction of your polyester pool, work on dry days as much as possible. This helps the polyester to harden and prevents discolouration.
STEP 2: : Application of primer and adhesive layer
After pouring the substrate, apply primer as a base coat and then an adhesive coat, such as G4 primer. Apply this with a brush or roller. After applying the primer, wait 1 to 4 hours before polyestering. Use one of our fibre pastes to round off the sharp corners and edges. Then the substrate is rolled with a special polyester resin for pool construction.
It is important not to use too much resin at once, otherwise you will have problems with the heat. Then mix everything together and make sure you do not forget to scrape off the bottom and edges. When your mixture is ready, you can paint the whole surface.
STEP 3: Application of glass mats and liquid polyester resin
The third step in the construction of your polyester pool is the application of the glass mats. Lay the glass mats on the substrate and immediately saturate them with the pool resin. If this is successful, the white glass mat becomes glassy and transparent. You start venting with a vent roller within 20 minutes, depending on the temperature. You will get a lower resin consumption if you process the layers wet-on-wet. This should harden for approximately 24 hours.
STEP 4: Finishing your pool with uv- and chlorine resistant pre- and topcoat
To achieve an excellent polyester finish, sand the polyester covering with sandpaper after drying. We recommend 60-grit paper. When finishing, of course you also have to make sure that everything has been cleaned thoroughly.
After sanding and cleaning, apply a layer of pre-coat. Mix the topcoat LT40 with approximately 10% dye. Then add about 2% MEKP hardener. Do you find this difficult? Then order your pre- and topcoat in the desired colour from us immediately. The application of the coatings on the dust-free surface is done in layers with a sheepskin roller. It is very important that the topcoat is not applied in full sunlight.
As soon as the construction of your polyester pool is complete, wait about a week before filling it, so that the coating can harden to the maximum. Then you are ready to relax in your new pool!
Safety
Always provide appropriate protective clothing and gloves. Avoid prolonged skin contact. Cleaning agent for tools: cleaner M (environmentally friendly substitute for acetone).
This product contains styrene and must therefore be handled in accordance with the safety regulations.
Related products


