Renovate your own swimming pool - DIY pool set 60 m²
Swimmingpool repair kit 60 M²
KIT50020063
No longer available
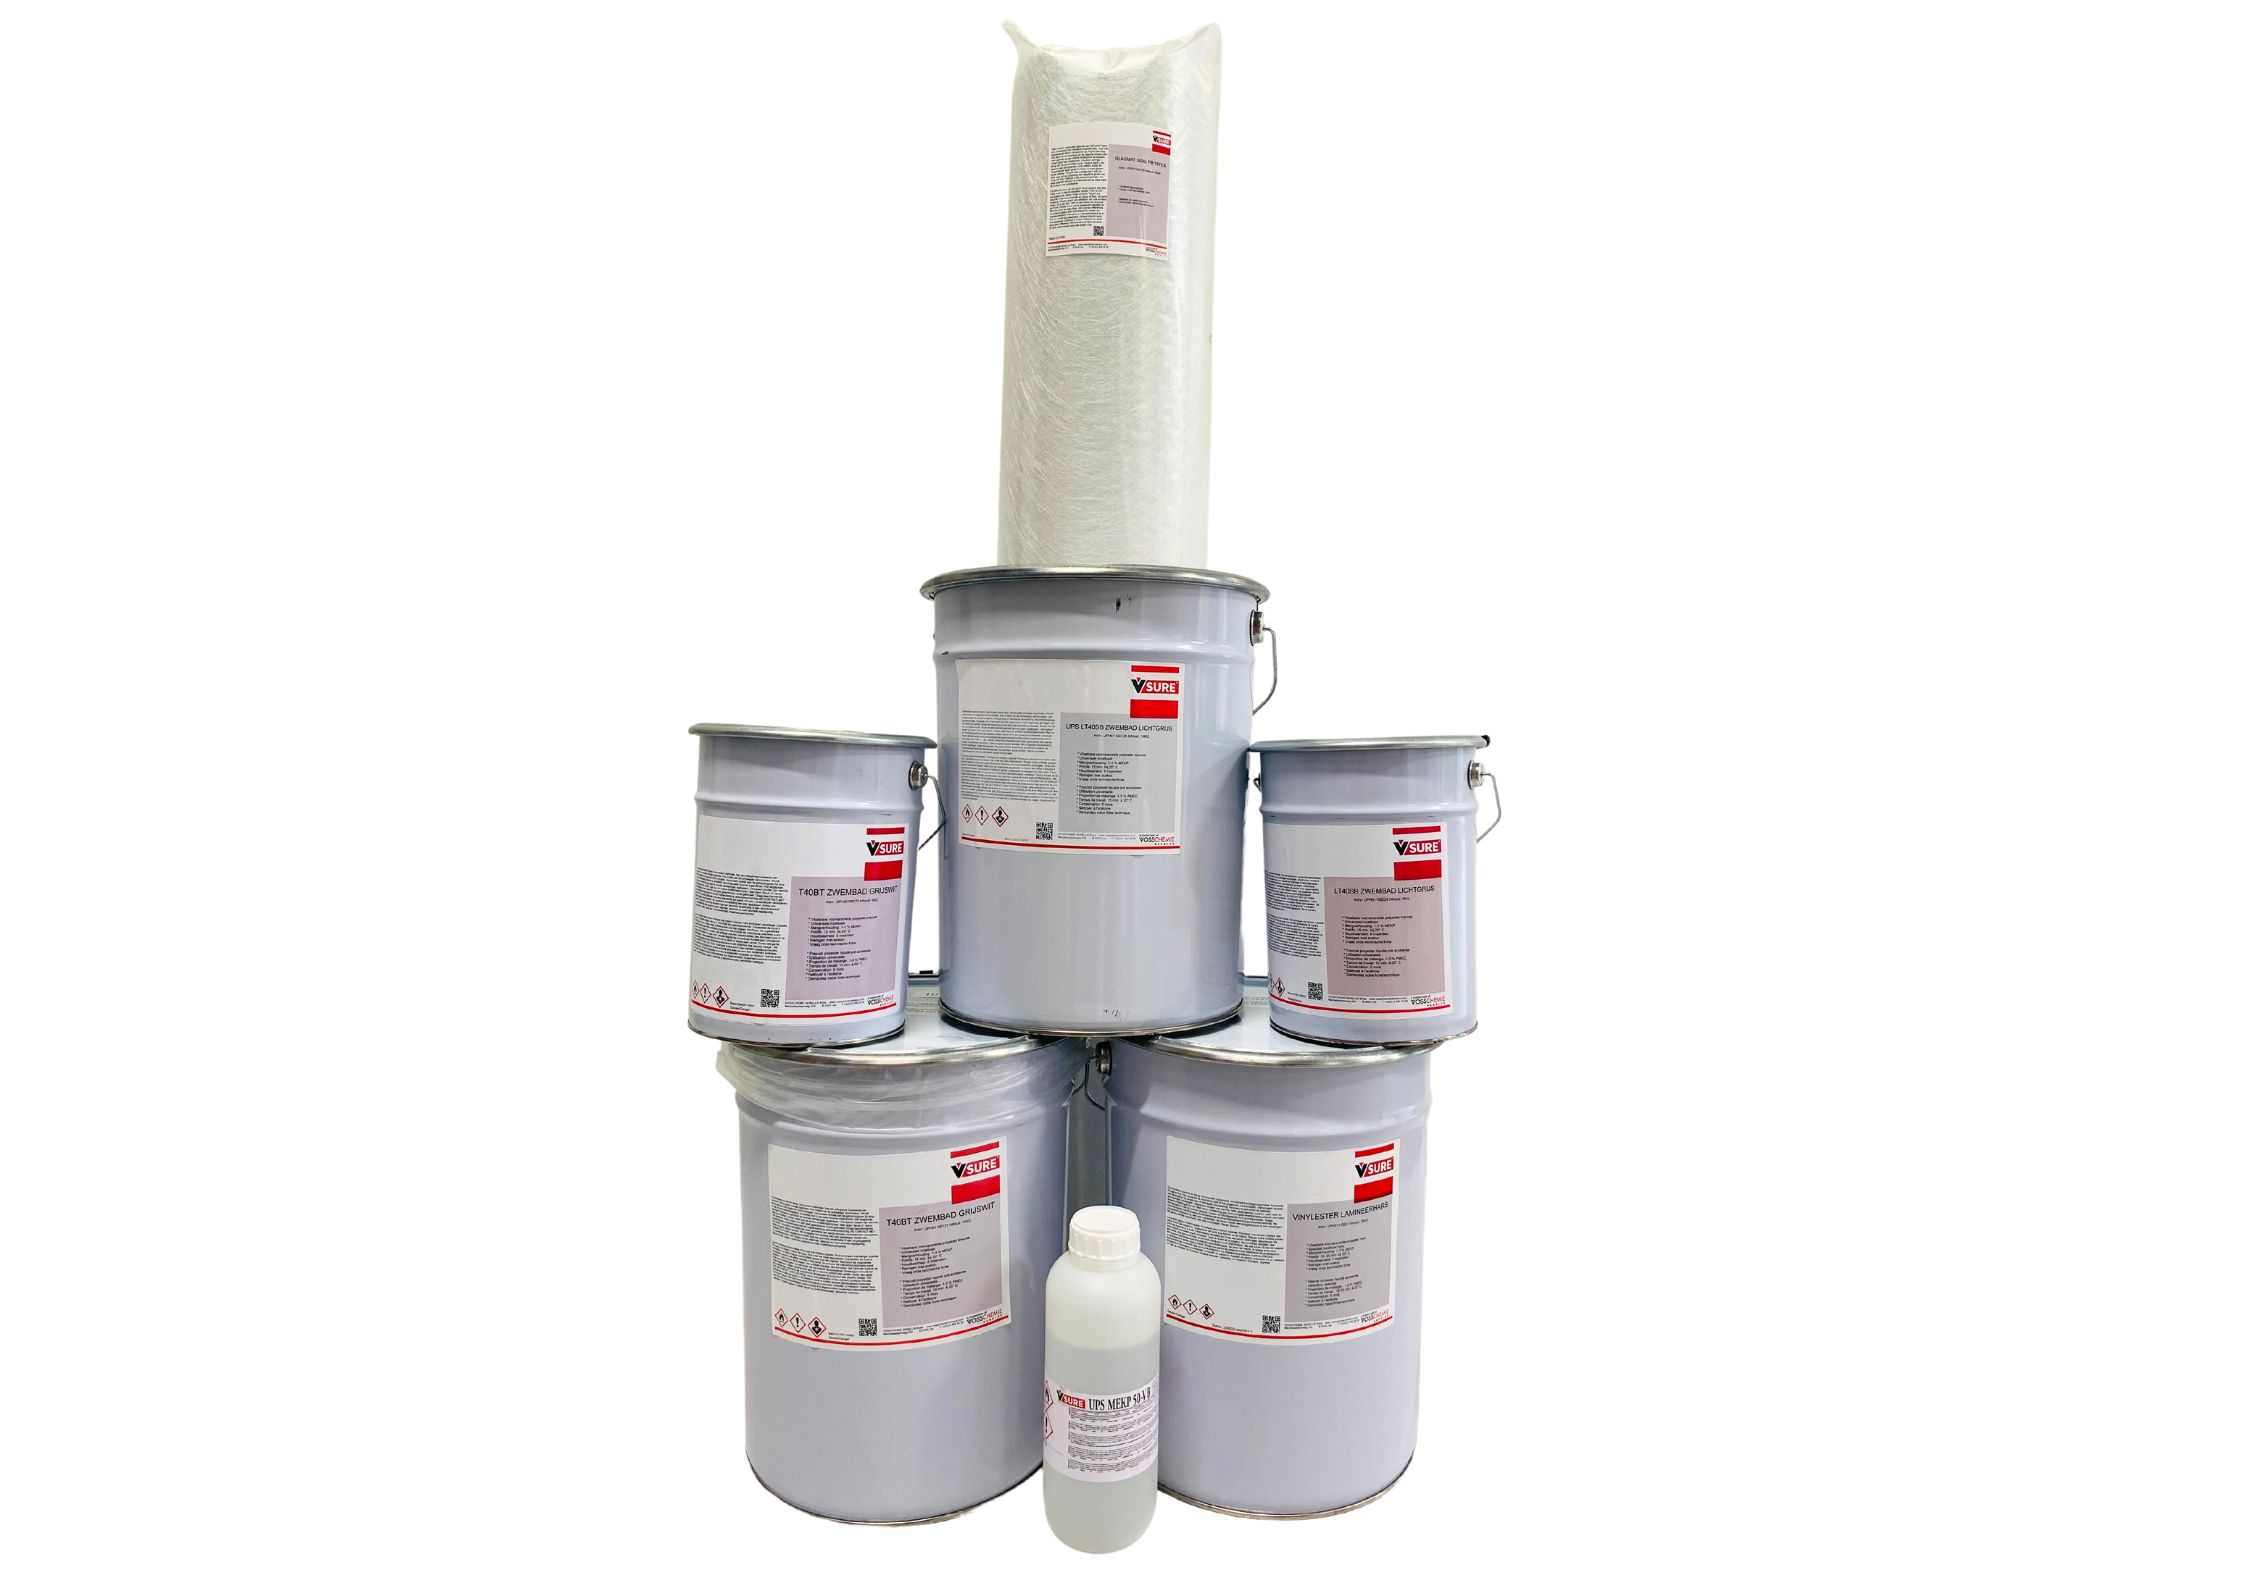
In this practical set you will find all the materials for renovating an existing polyester pool that needs to be recoated or repainted due to osmosis.
This set contains:
- 3 x Vinylester laminating resin 20 kg
- 1 x Glass mat 300 g PB 15TEX 60 m²
- 1 x Precoat T40BT RAL 9002 5 kg
- 1 x Precoat T40BT RAL 9002 10 kg
- 1 x Topcoat LT40SB color of your choice 5 kg
- 1 x Topcoat LT40SB color of your choice 10 kg
- 2 x Harder MEKP 1 kg
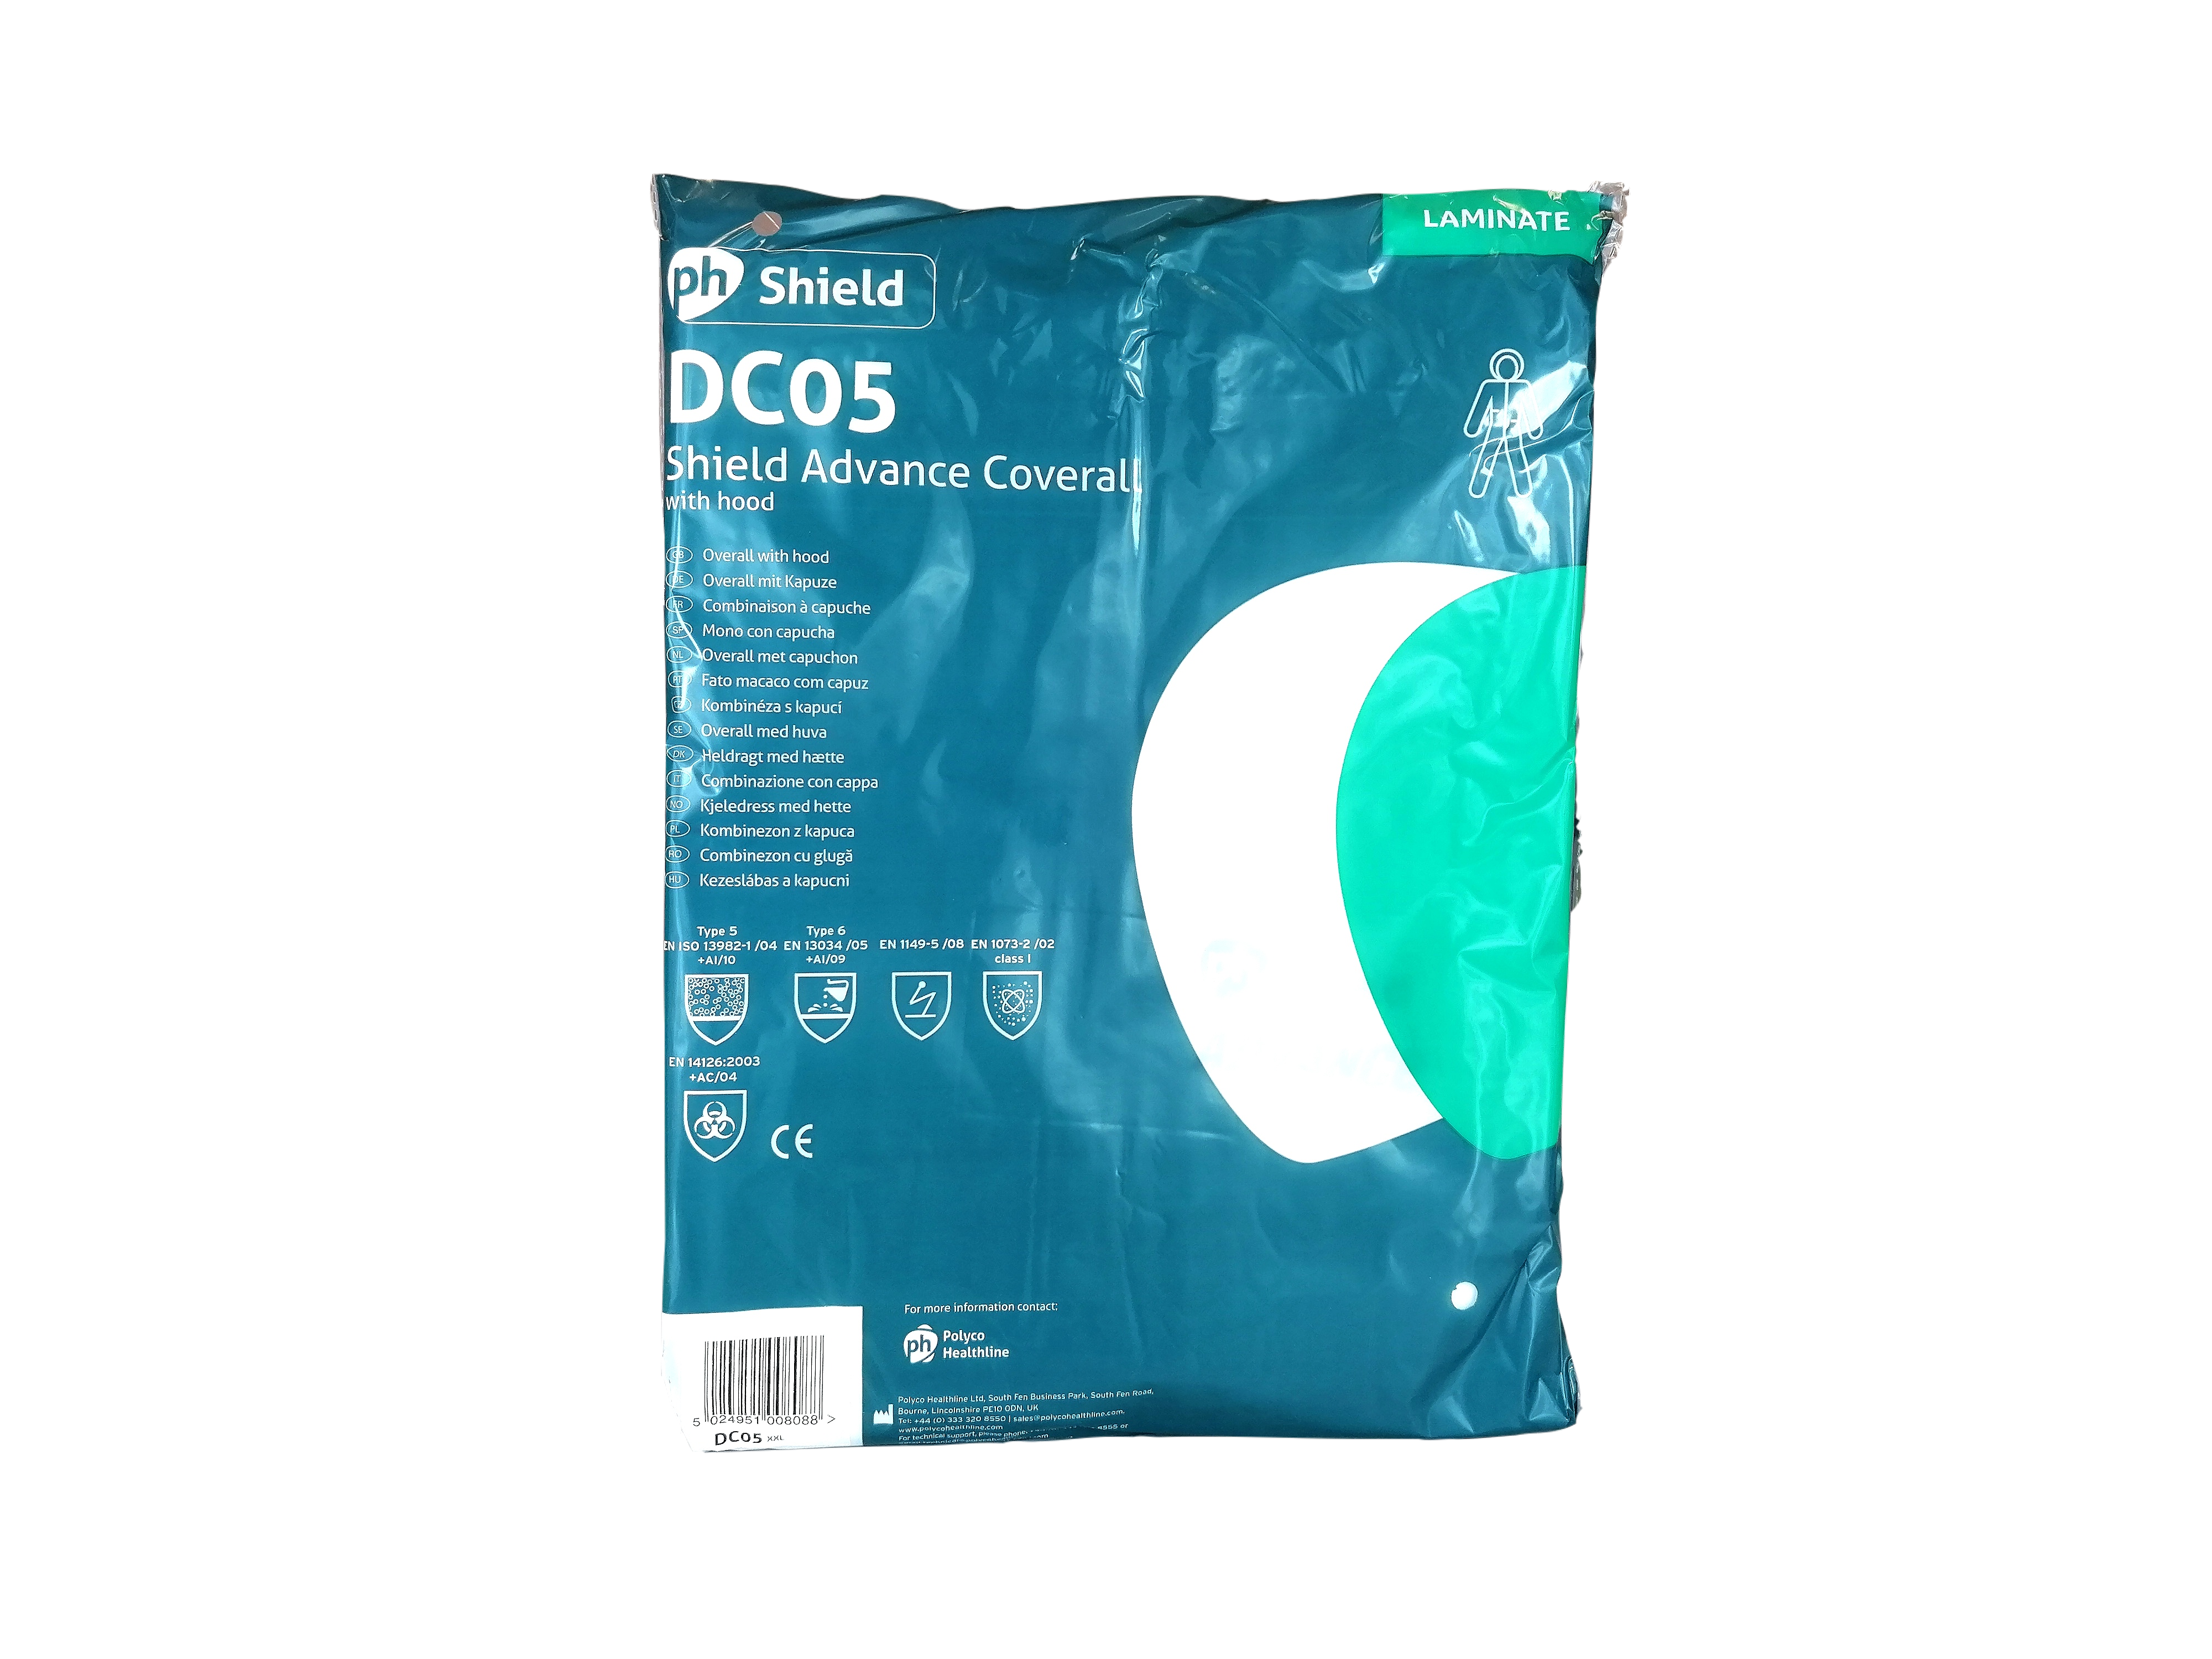
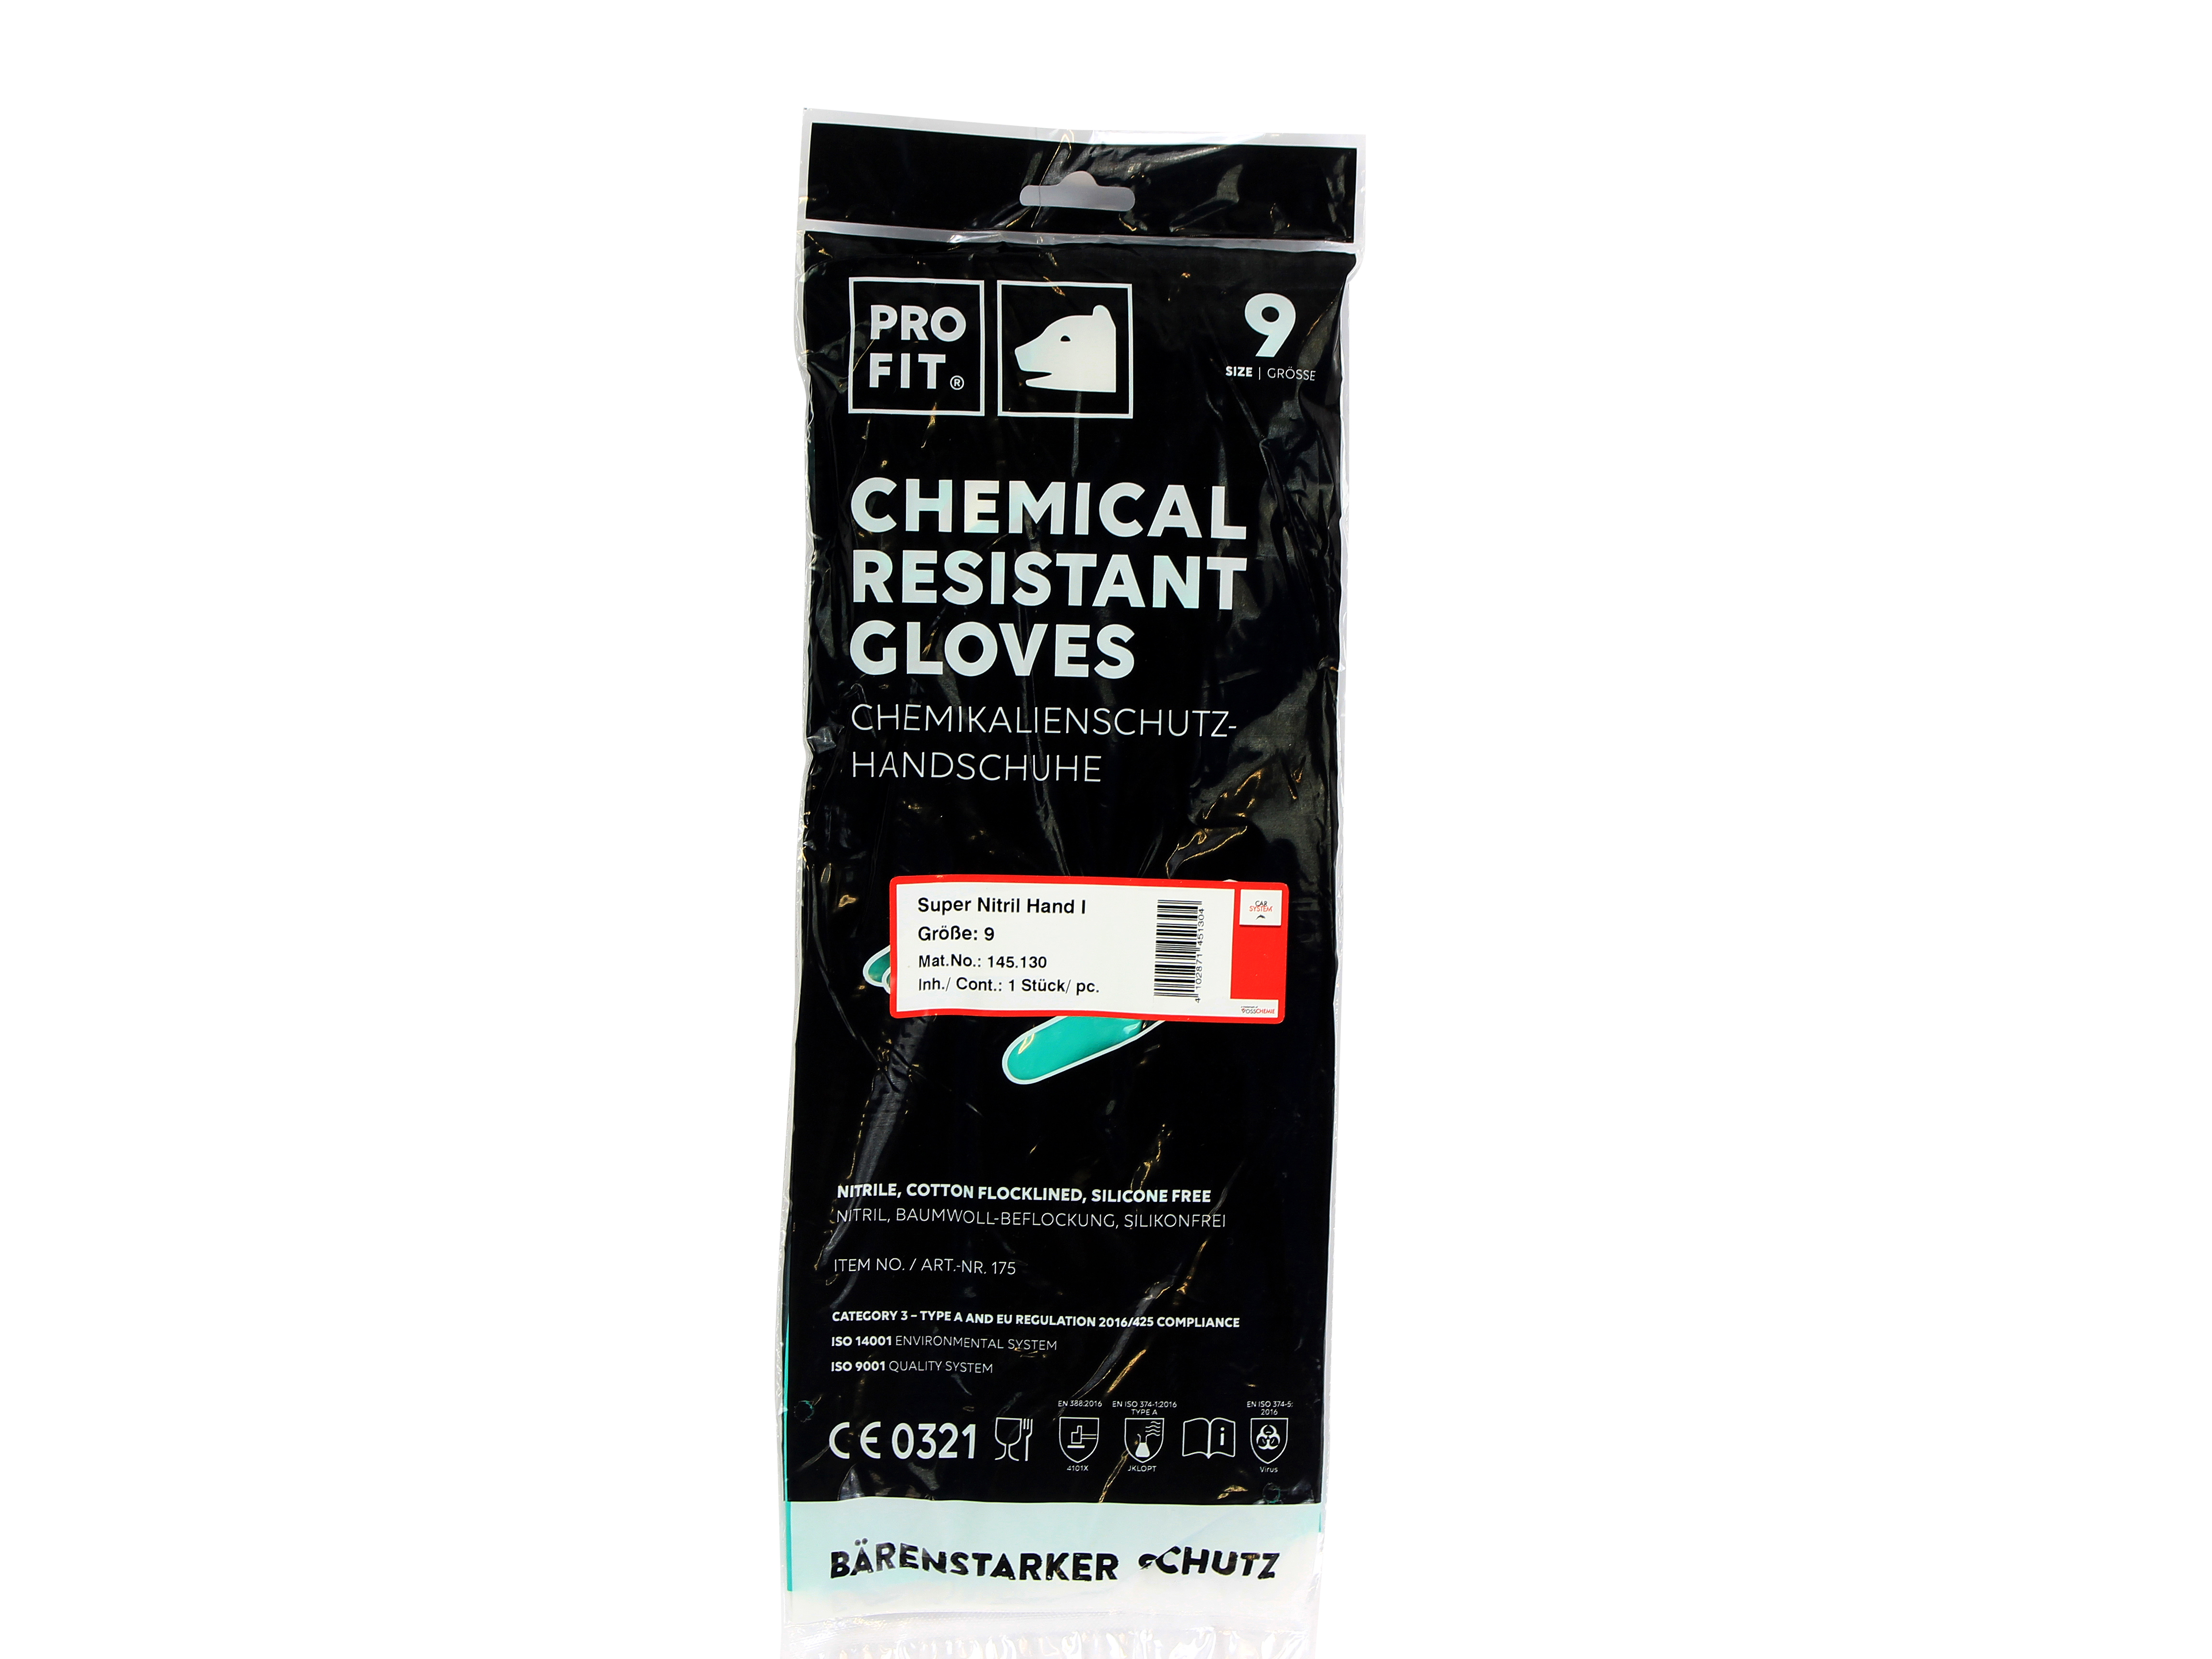
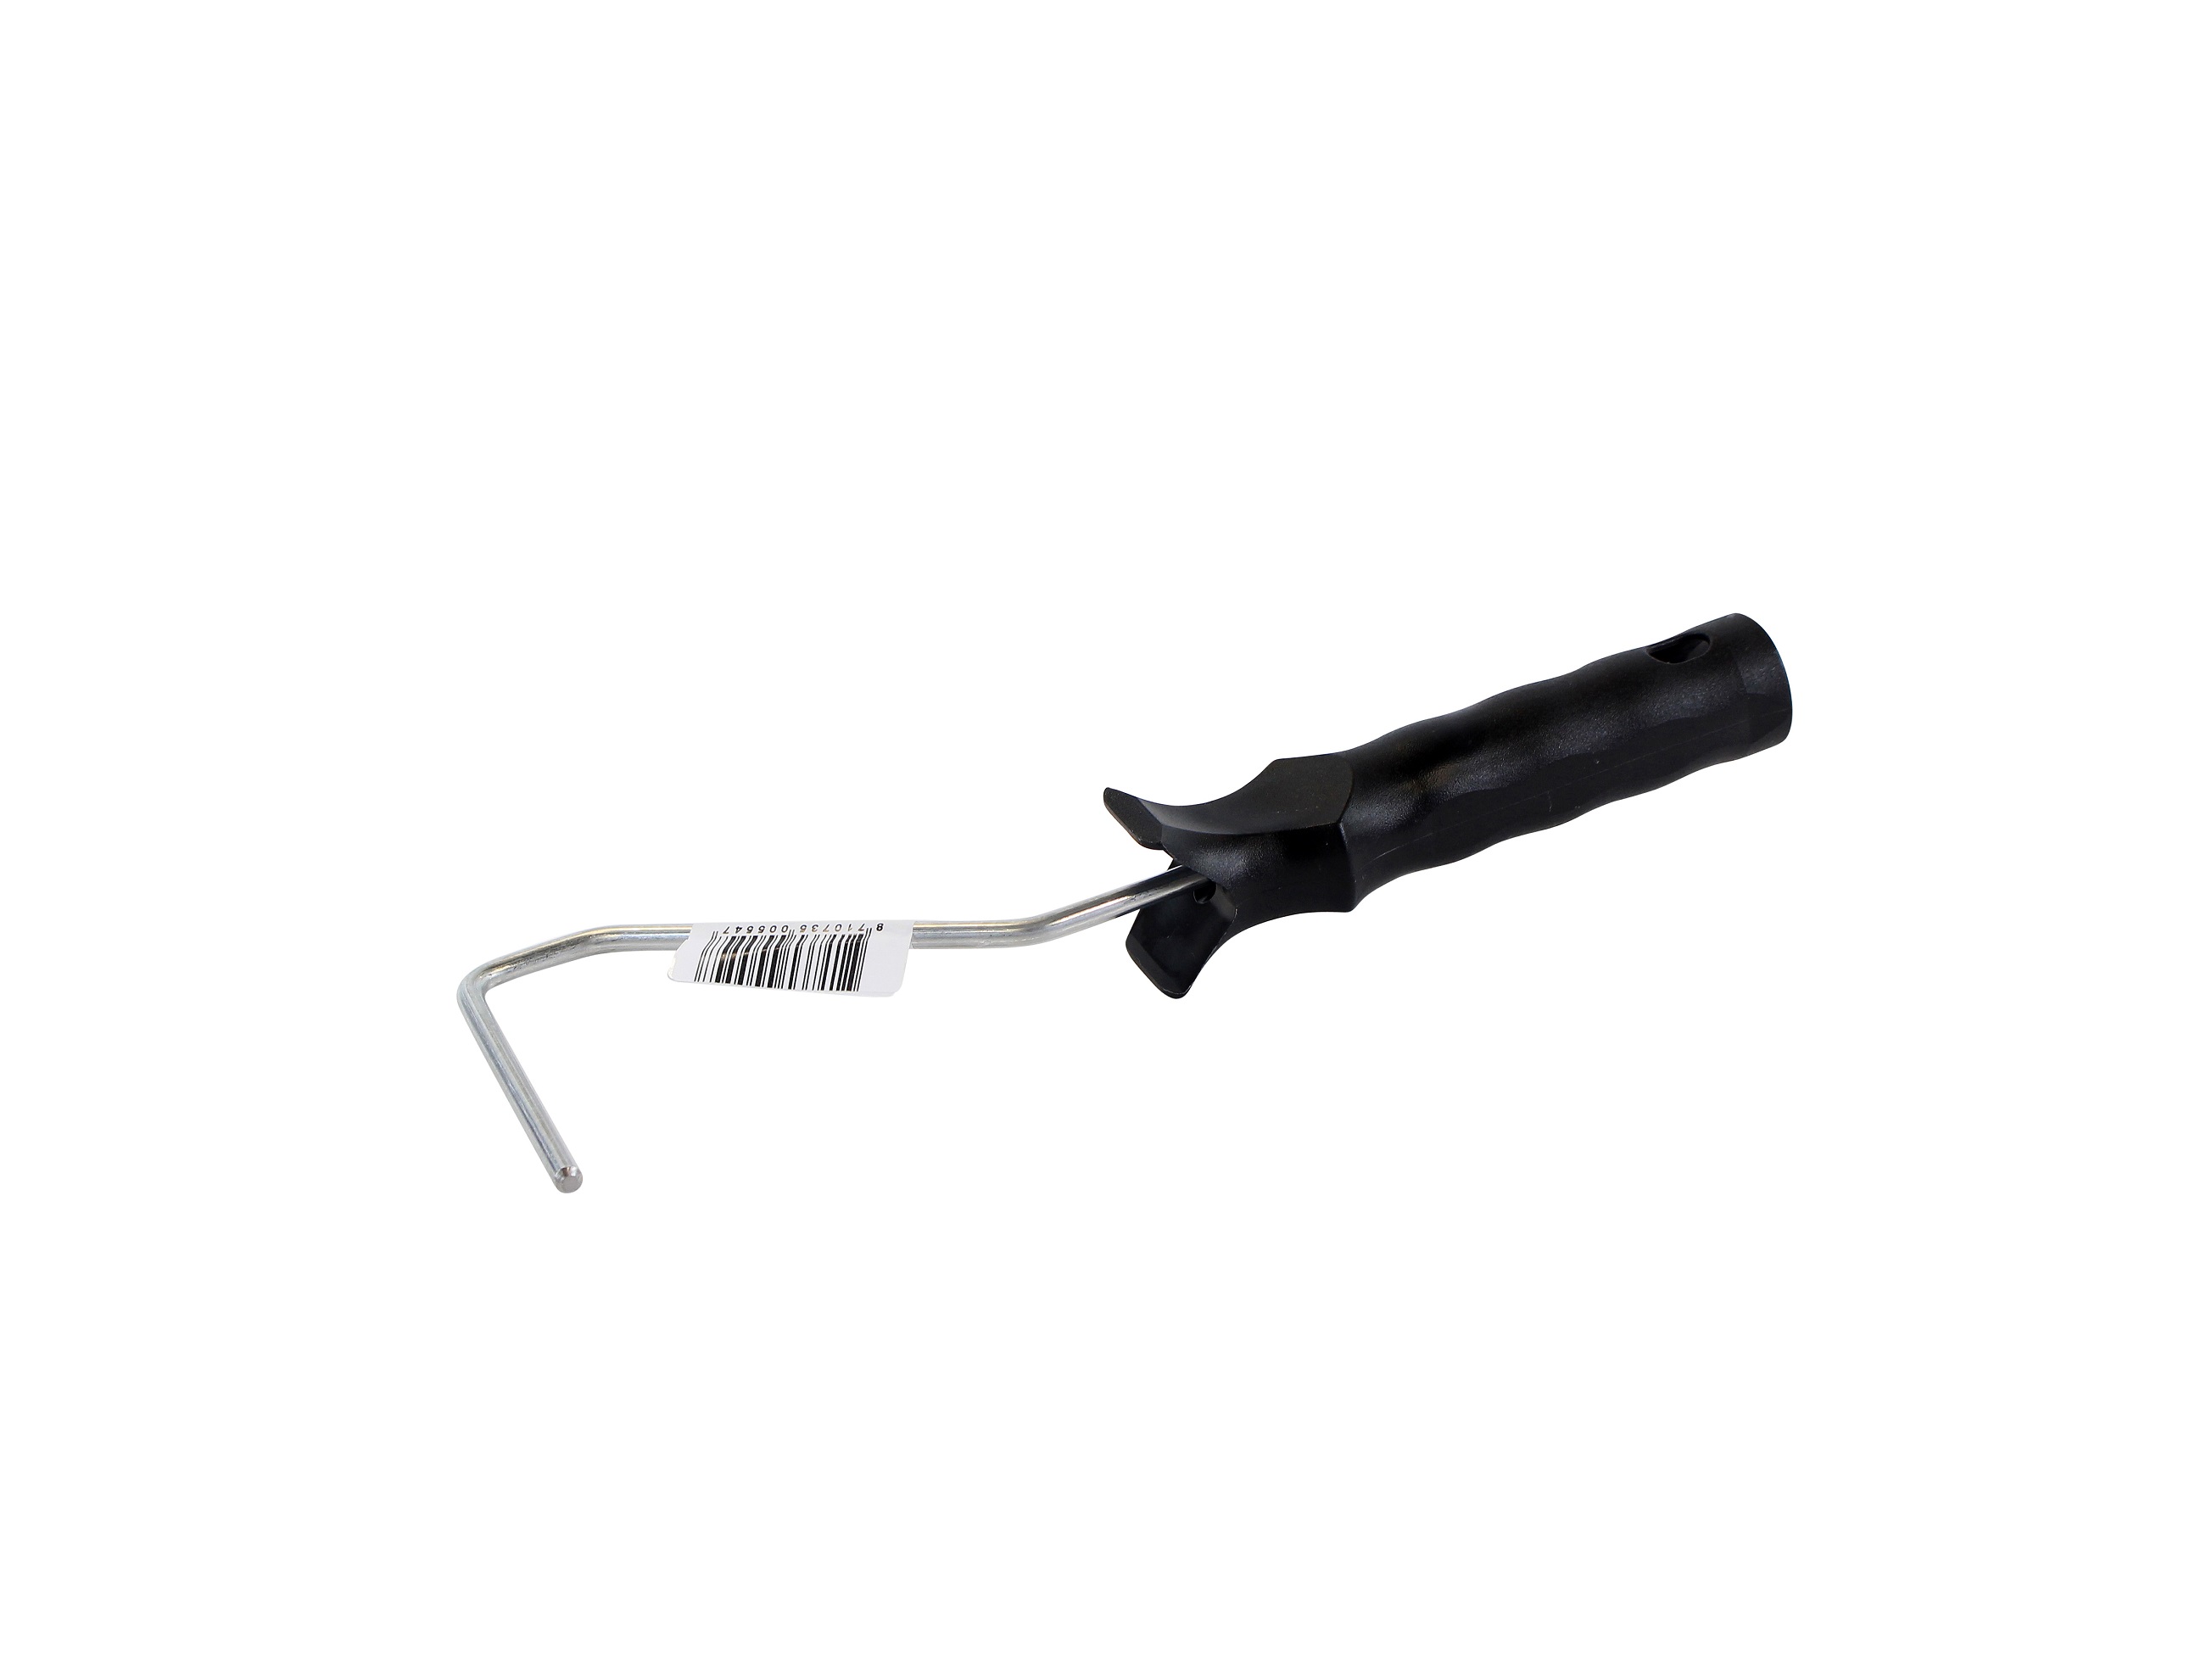
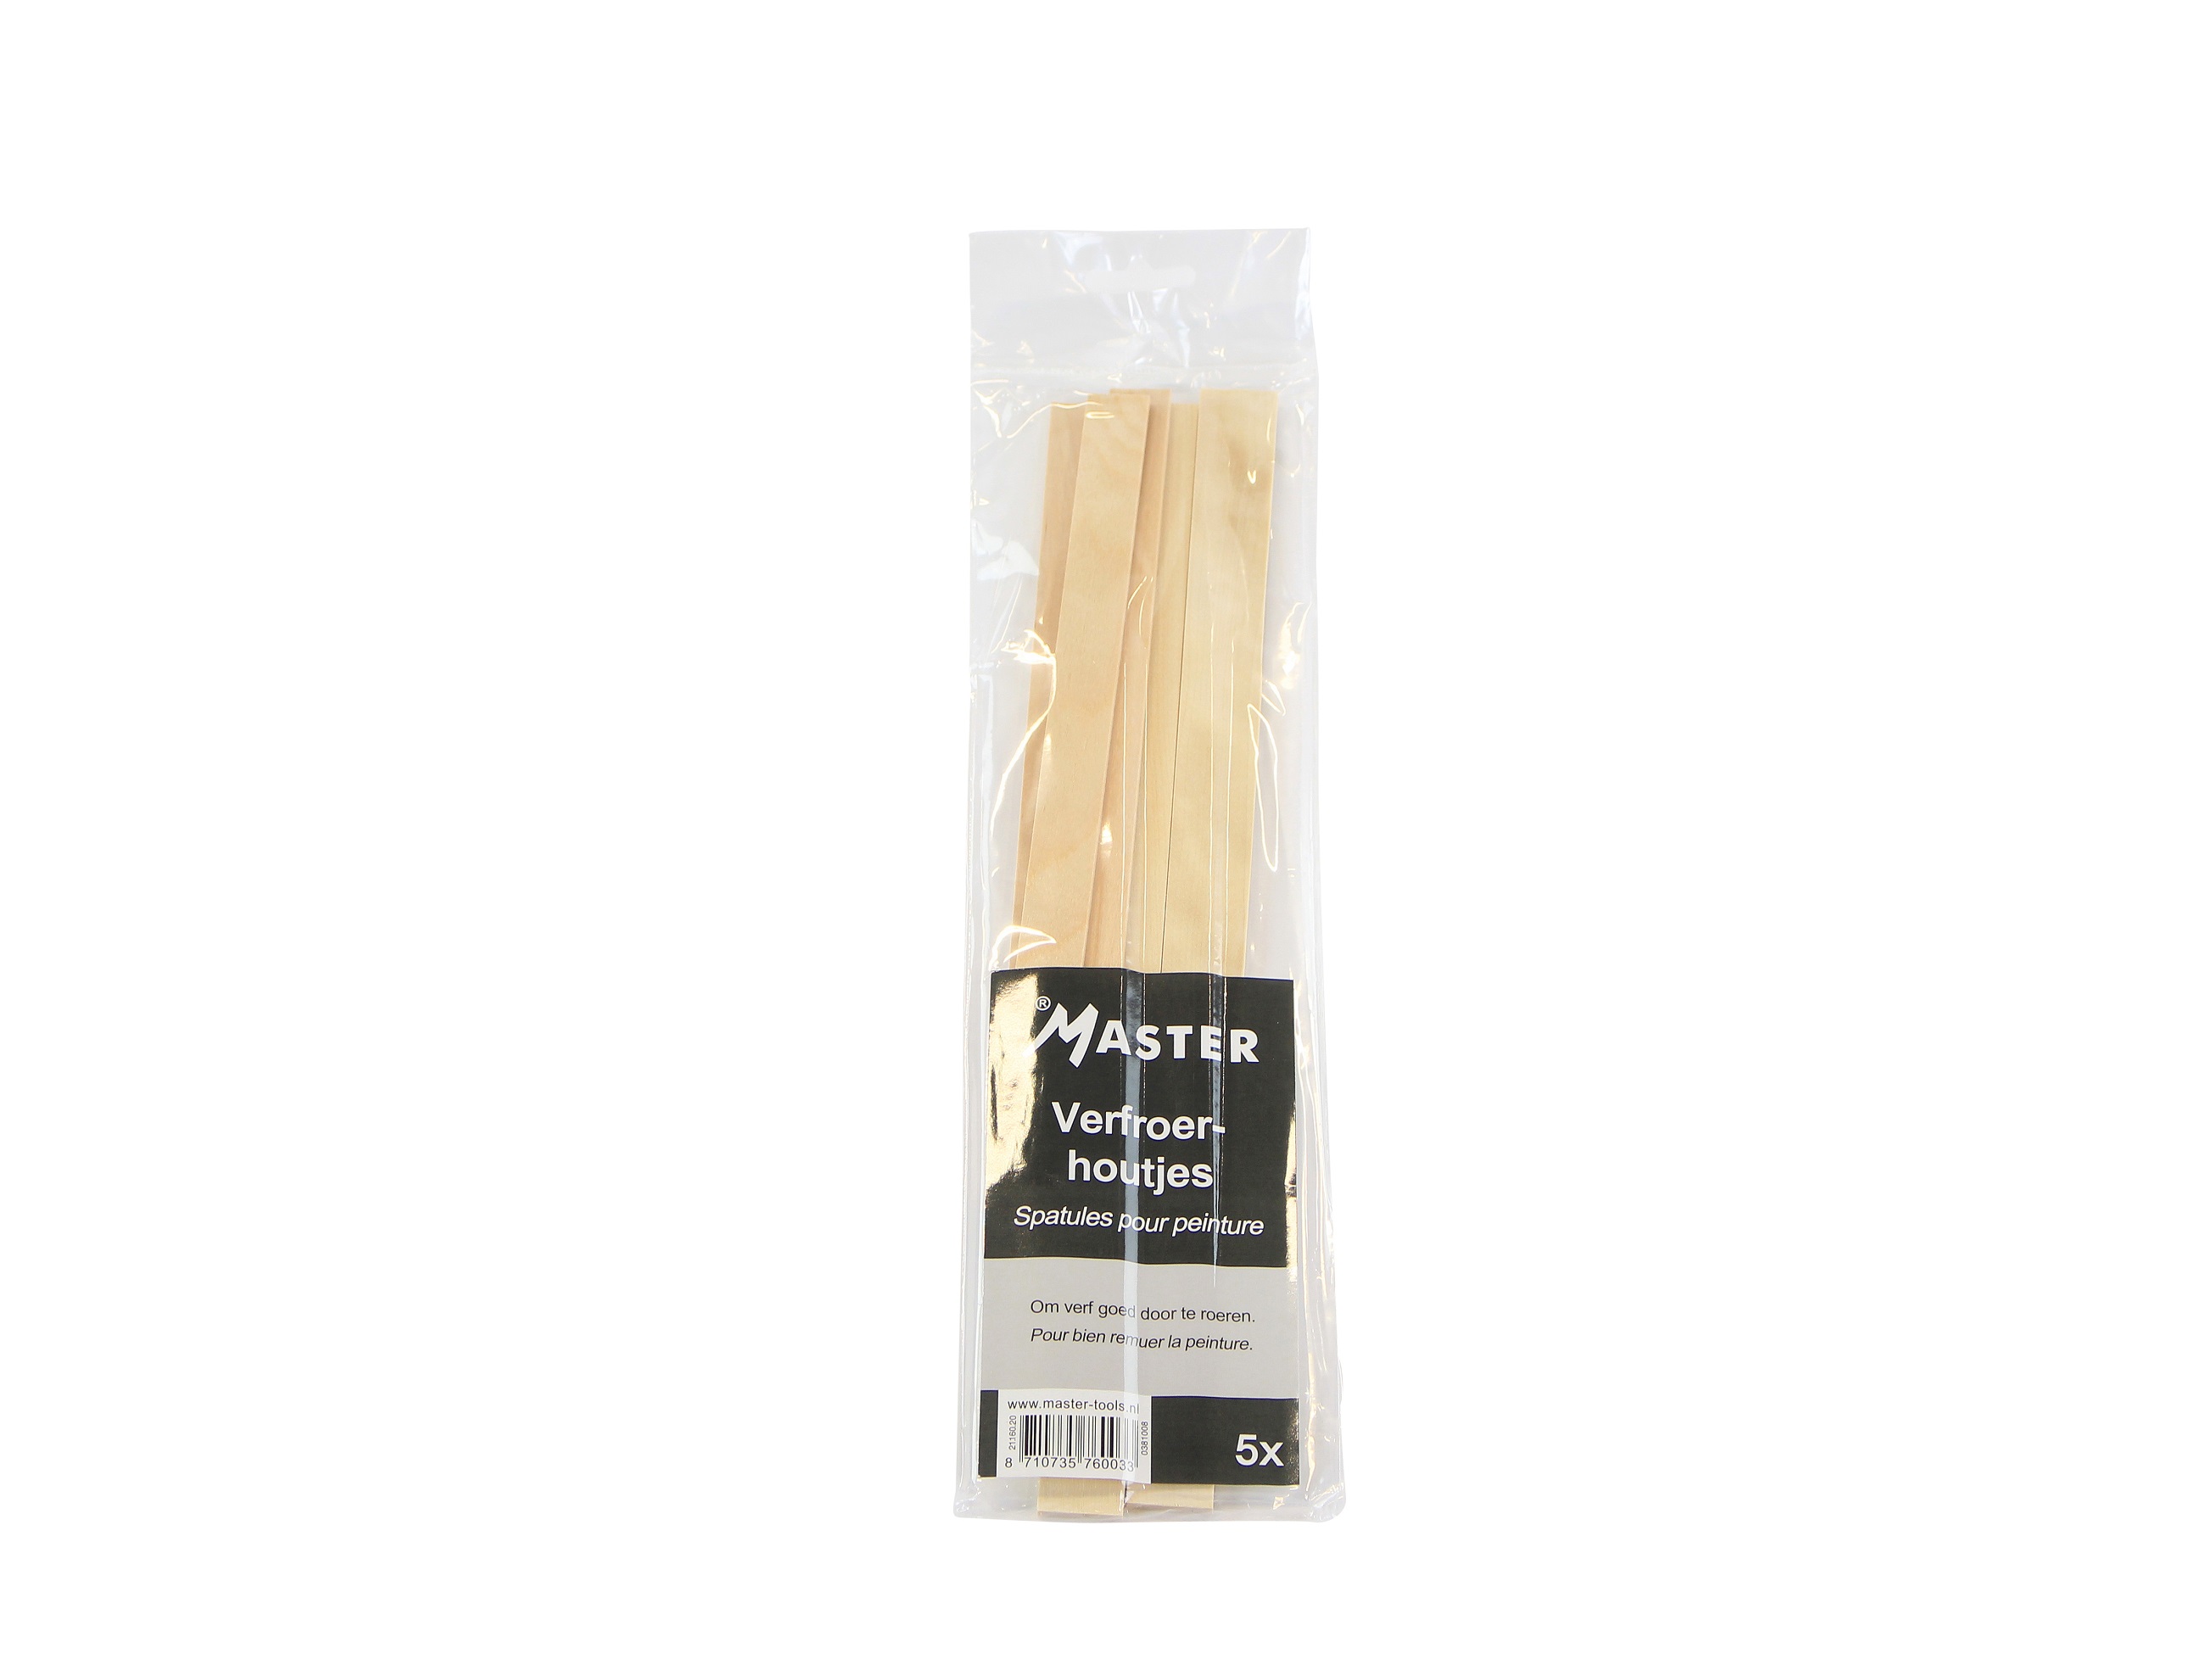
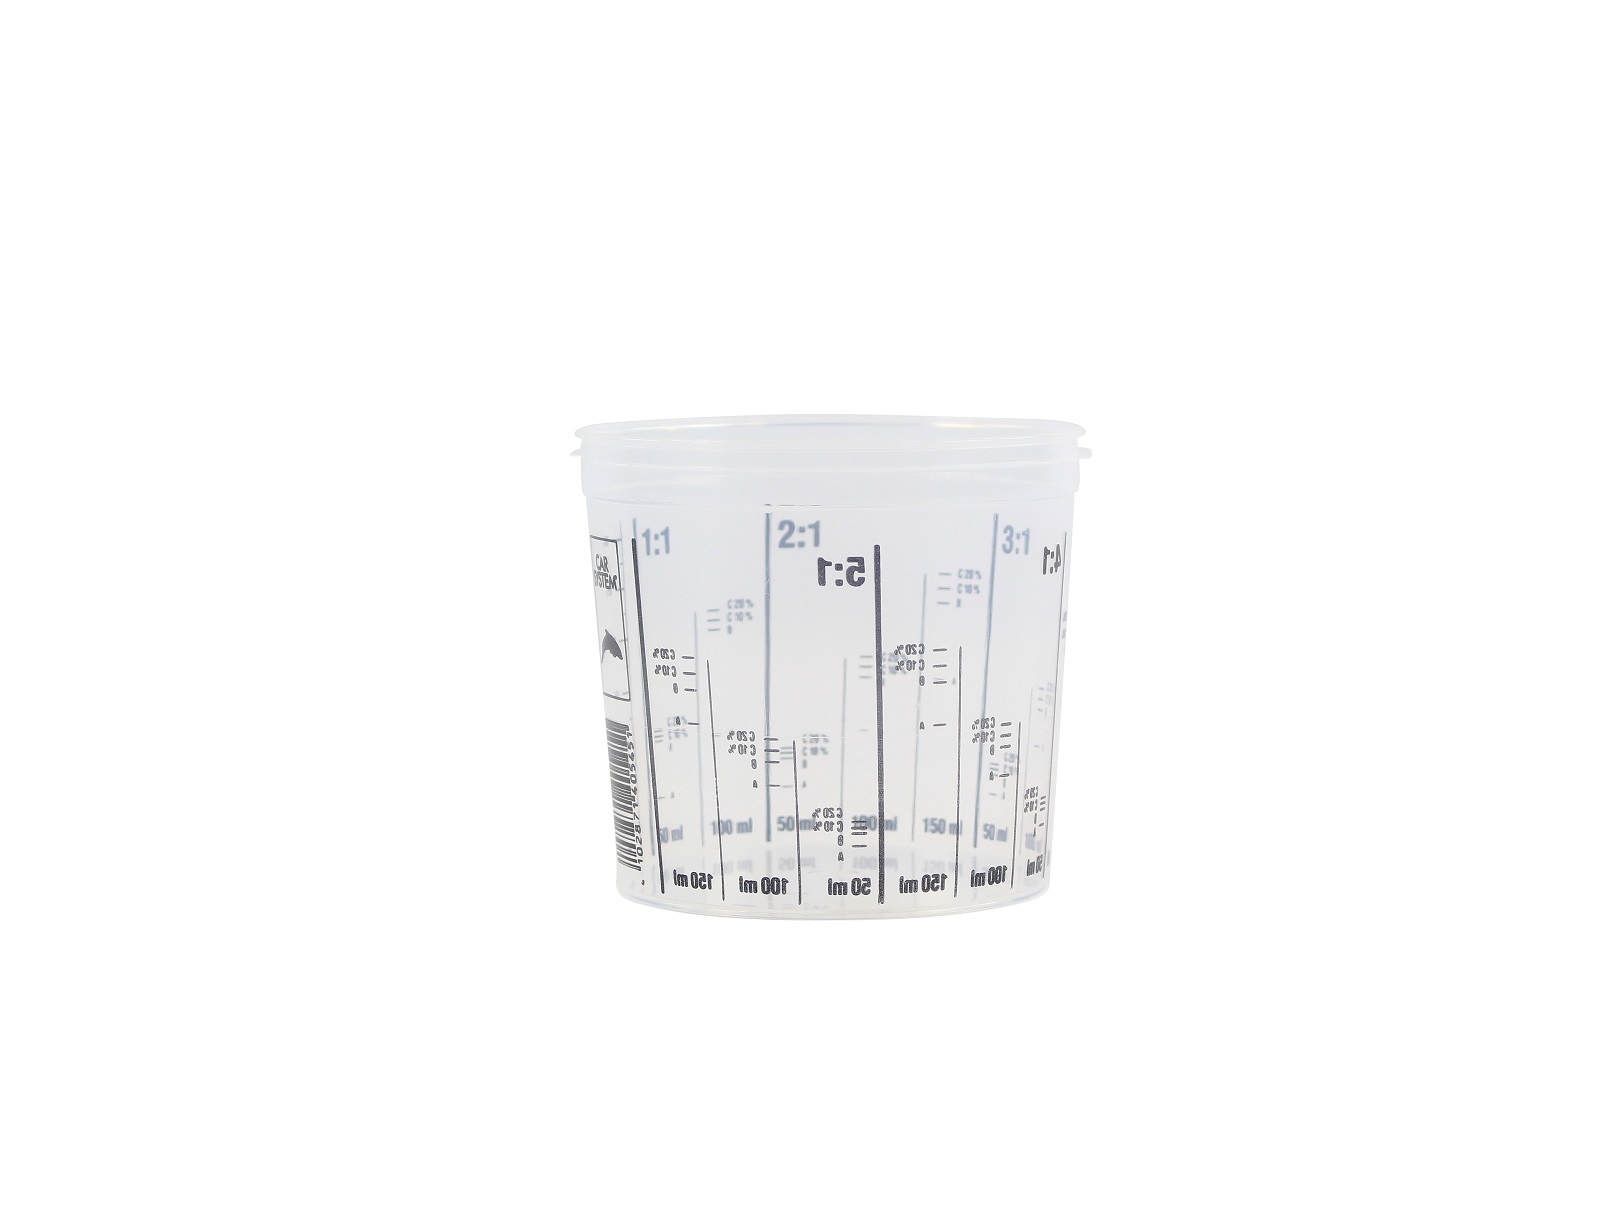
Kit with accessories and tools available separately.
Available in set of 40 m²,80 m² and 120 m² and in 5 different colors.
€1,491.77 / set
Applications
As a renovation system for self-repairing a swimming pool made of glass fibre reinforced polyester, which has had its best days. This covering can be applied to old polyester layers. In addition to reinforcing and repairing the damaged substrate, this covering makes the whole thing waterproof again.
Usage
How do I renovate my existing polyester pool?A polyester pool will lose its original gloss after a few years. Or even worse, osmosis can occur as a result of the action of UV rays and chemicals. Osmosis shows itself as black dots and little blisters in the final layer. These blisters increase in size with time and weaken the underlying polyester structure. This phenomenon can occur with monoblock pools as well as with on-site polyesters.
Follow our handy step-by-step plan to repair your pool:
STEP 1: Preparing the substrate
When coating with polyester and glass fibre, it is best to work on a surface that is as dry as possible. For this reason, it is best to grind off the old layer up to the glass mat. This will expose all bad spots or spots affected by osmosis. It is important to wash these places thoroughly with clean tap water and then let them dry. If there are border stones, it is advisable to remove these as well. This is in order to be able to laminate under the stones. It is best to replace the coping stones with a suitable adhesive after the polyester work. This has the advantage that the polyester layer can be placed horizontally over the wall and then the coping stones. This will result in a better waterproofing and adhesion to the surface.
STEP 2: Applying the resin and glass mat
Vinylester resin is used to impregnate the glass mats when renovating a swimming pool. Vinylester resin has a better chemical and water resistance than a standard polyester resin. During the preparations, start with the straight tearing and fraying of the glass mats, so that they 'interlock' with each other and do not fall on or next to each other like straight pieces. Adjust the pieces of glass mat according to the height of the wall. Apply one layer of glass mat consisting of a 300 gr/m² 15 TEX. This will immediately give you a fairly smooth finish.
Follow these steps to apply the resin and laminate:
1. Mix the A and B components thoroughly, do not forget the edges and the bottom of the pot!
2. Always mix small workable quantities, from 1 up to a maximum of 3 kg.
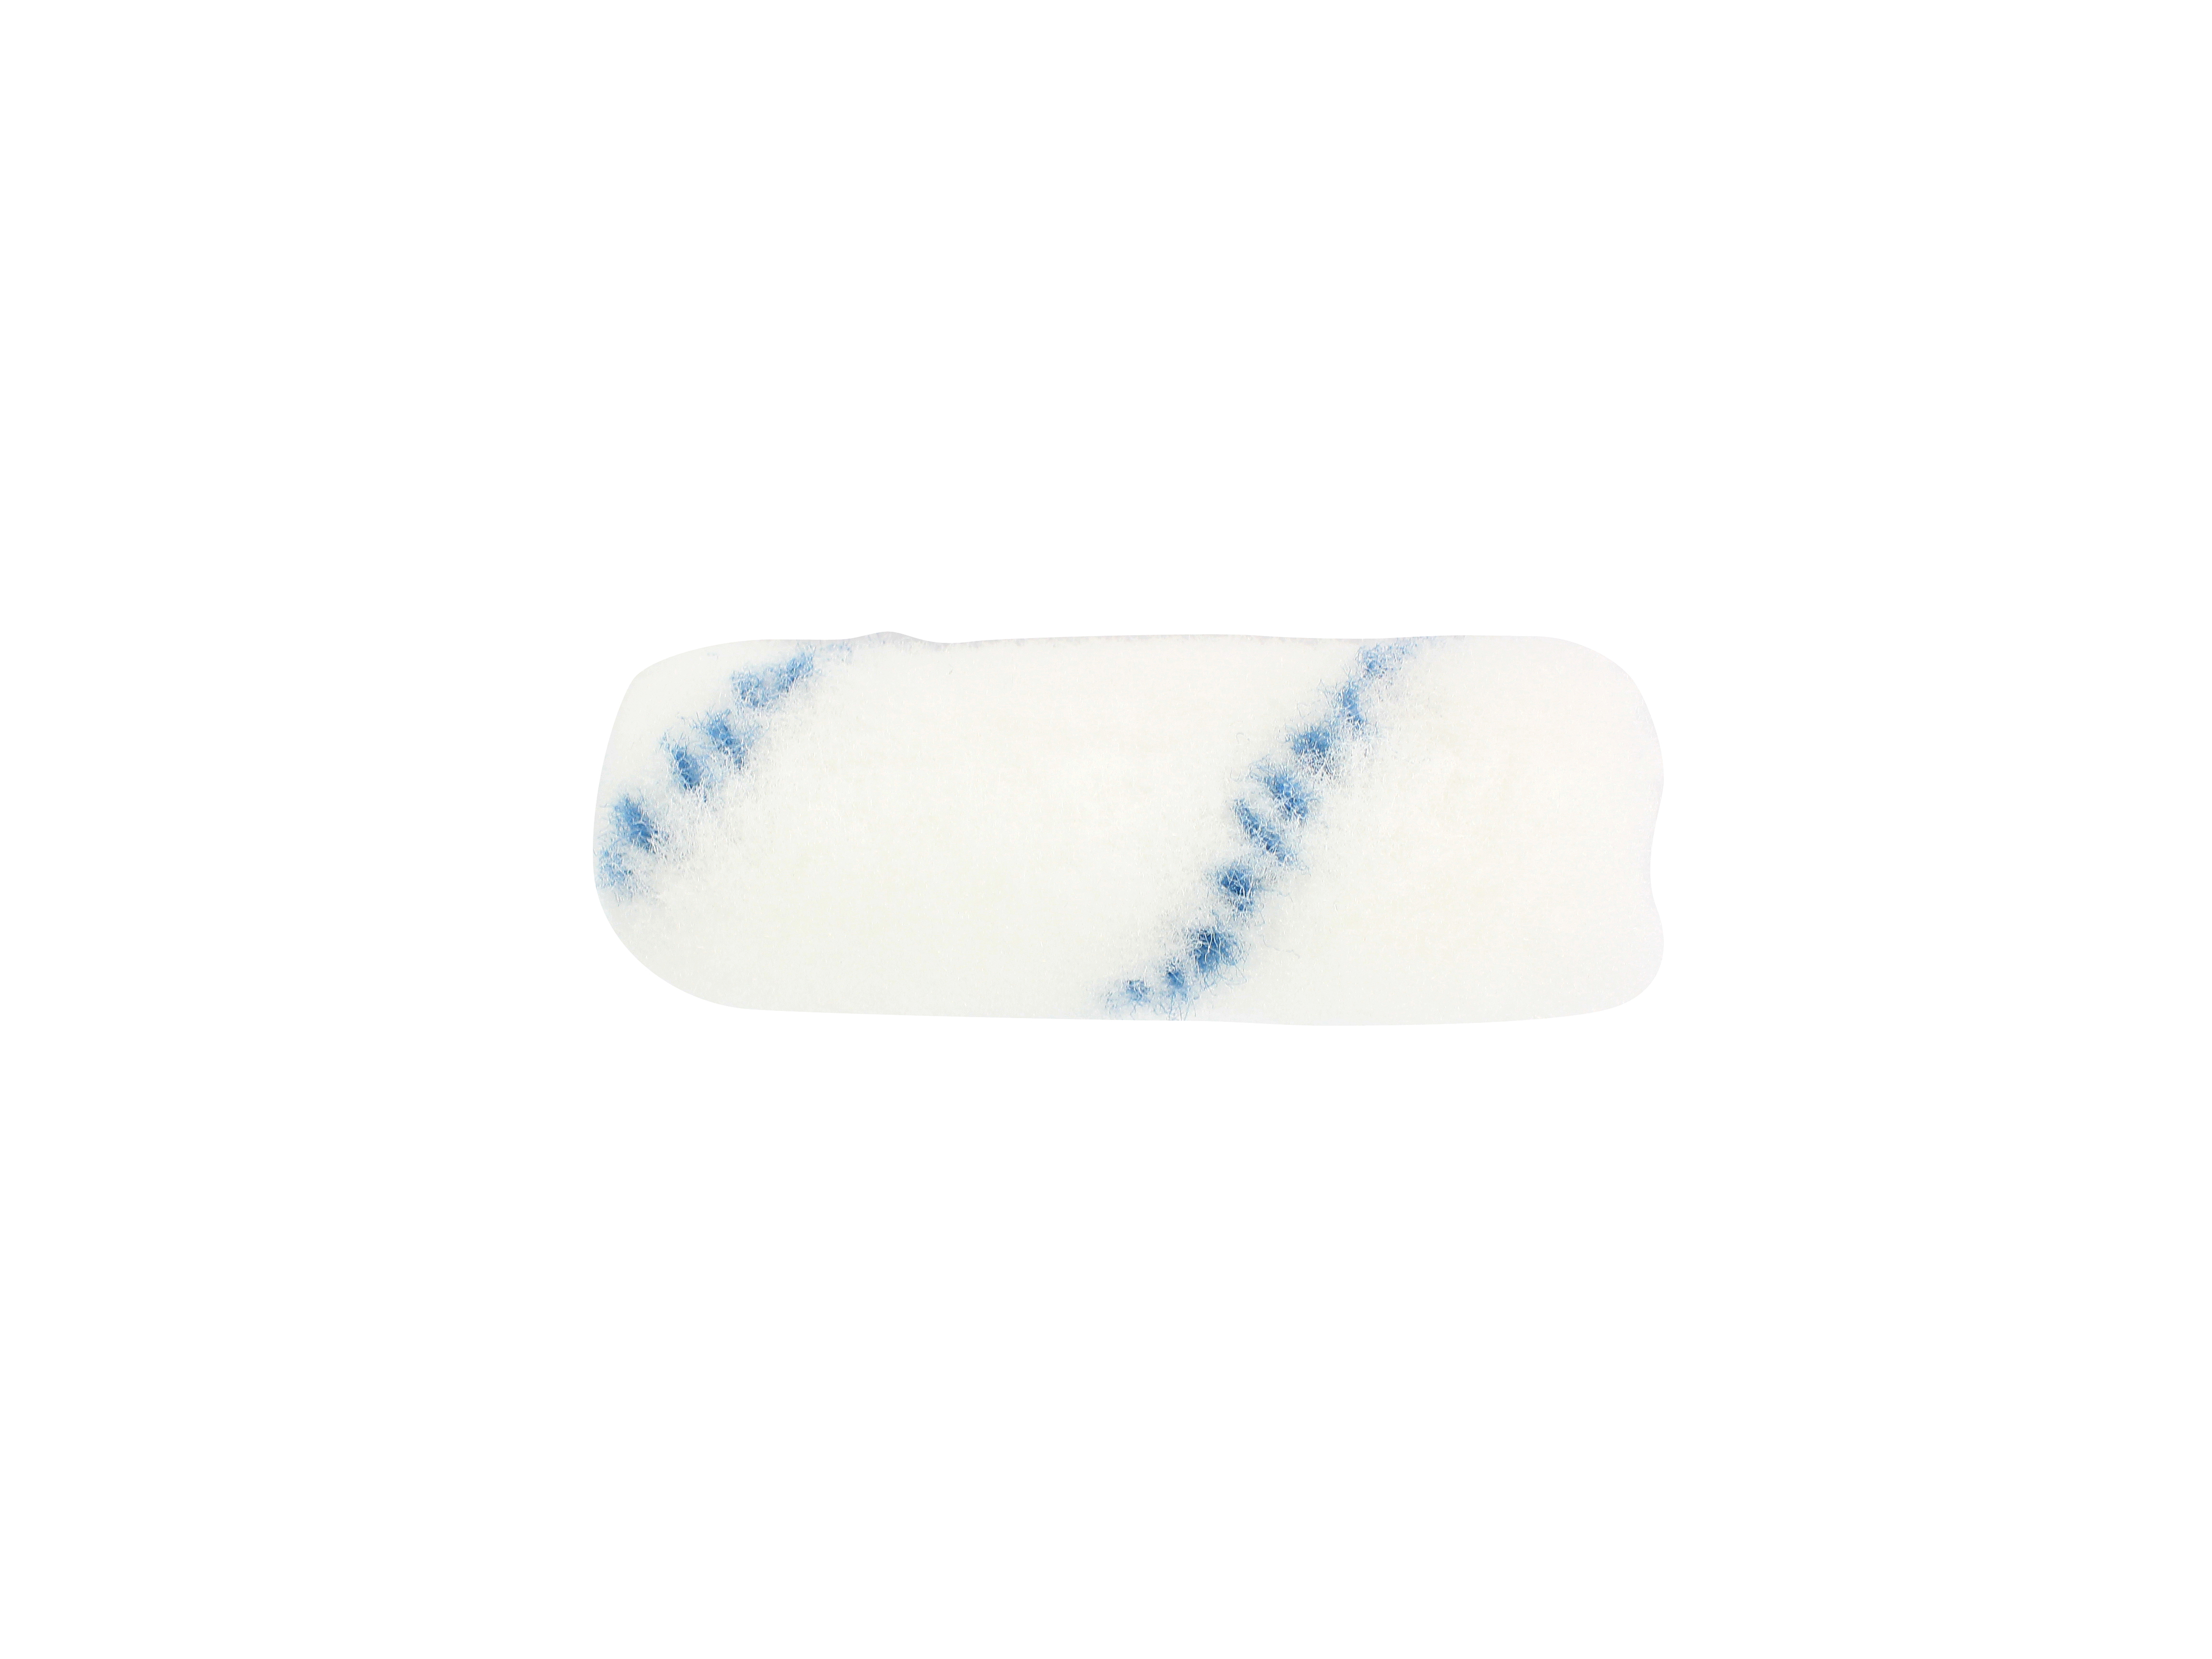
3. Apply the resin to the substrate with a sheepskin roller.
4. Then apply the glass mat and impregnate it with sufficient vinylester resin.
5. De-aerate with a de-aeration roller so that the white sheen disappears (avoid air bubbles).
6. Allow the laminate to dry/cure for at least 12 hours.
7. Sand with 80 grit sandpaper to remove sharp edges and raised fibres.
8. Dust and degrease the substrate with acetone.
STEP 3: Applying the precoat
Precoat T40BT, should be applied as the first layer and is supplied in a slightly different colour than the final colour. This is for visual inspection purposes. The precoat is applied with a sheepskin roller. The precoat remains sticky to the surface so that the topcoat can be applied immediately, without having to sand it. Use spiked shoes to walk on the layer of precoat.
STEP 4: Finishing with topcoat
The application of the final layer is done with a coloured topcoat that can be applied with a sheepskin roller. This topcoat is available in various specific swimming pool colours.
Apply a maximum of 3 kg at a time. If you wish to apply two layers of topcoat, this must be done within 20 minutes! It is best to apply the pre- and topcoat on the same day. Do not apply topcoat in direct sunlight. Otherwise it will remain sticky. Wait 1 week before use without water filling, precipitation is not harmful.
Safety
This product contains styrene and must therefore be handled in accordance with the safety regulations.

