
Cast floor and PU cast floor
The benefits of a PU cast floor: why you should choose this durable flooring solution
Want to learn more about a polyurethane (PU) cast floors?
Learn all about it on this page about PU cast floors.
What is PU or polyurethane?
PUs or polyurethanes are liquid products that self-level. They are made out of two components. You have a liquid resin, the A component, and the hardener, the B component. The resin is usually already dyed in the customer's chosen color. PUs are available in different shades with a wide variety of looks.
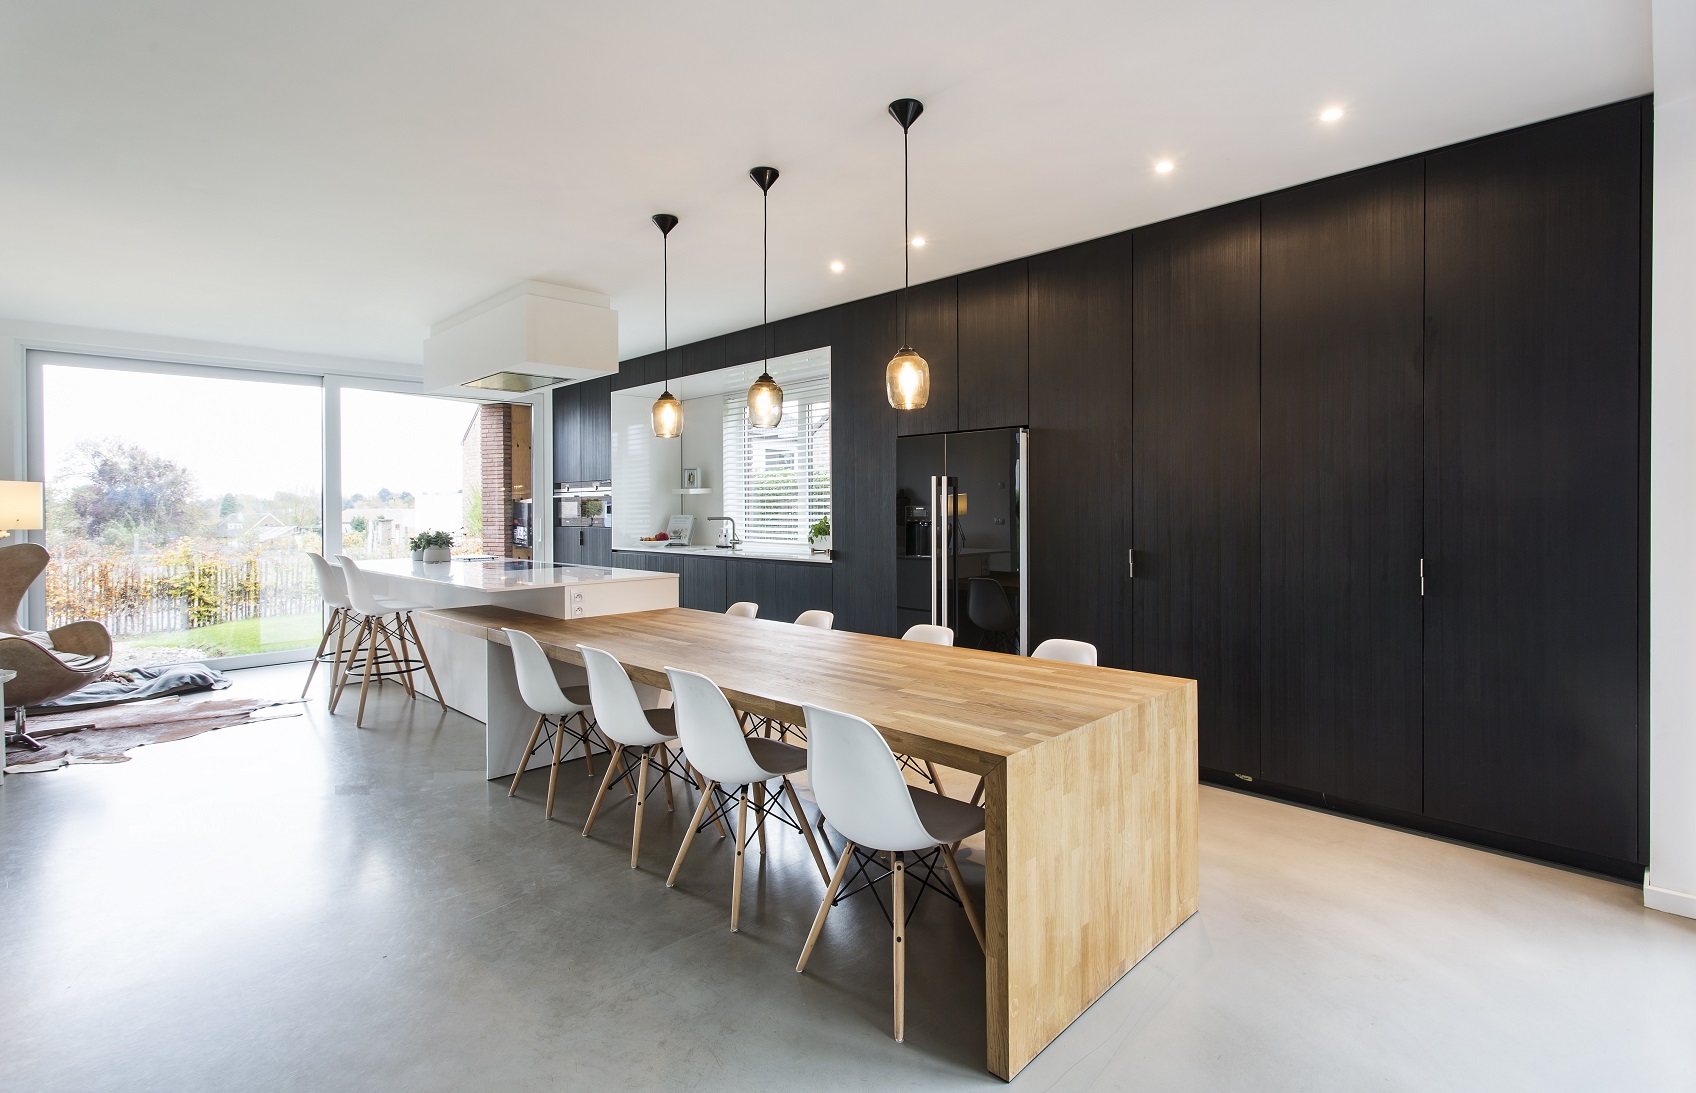
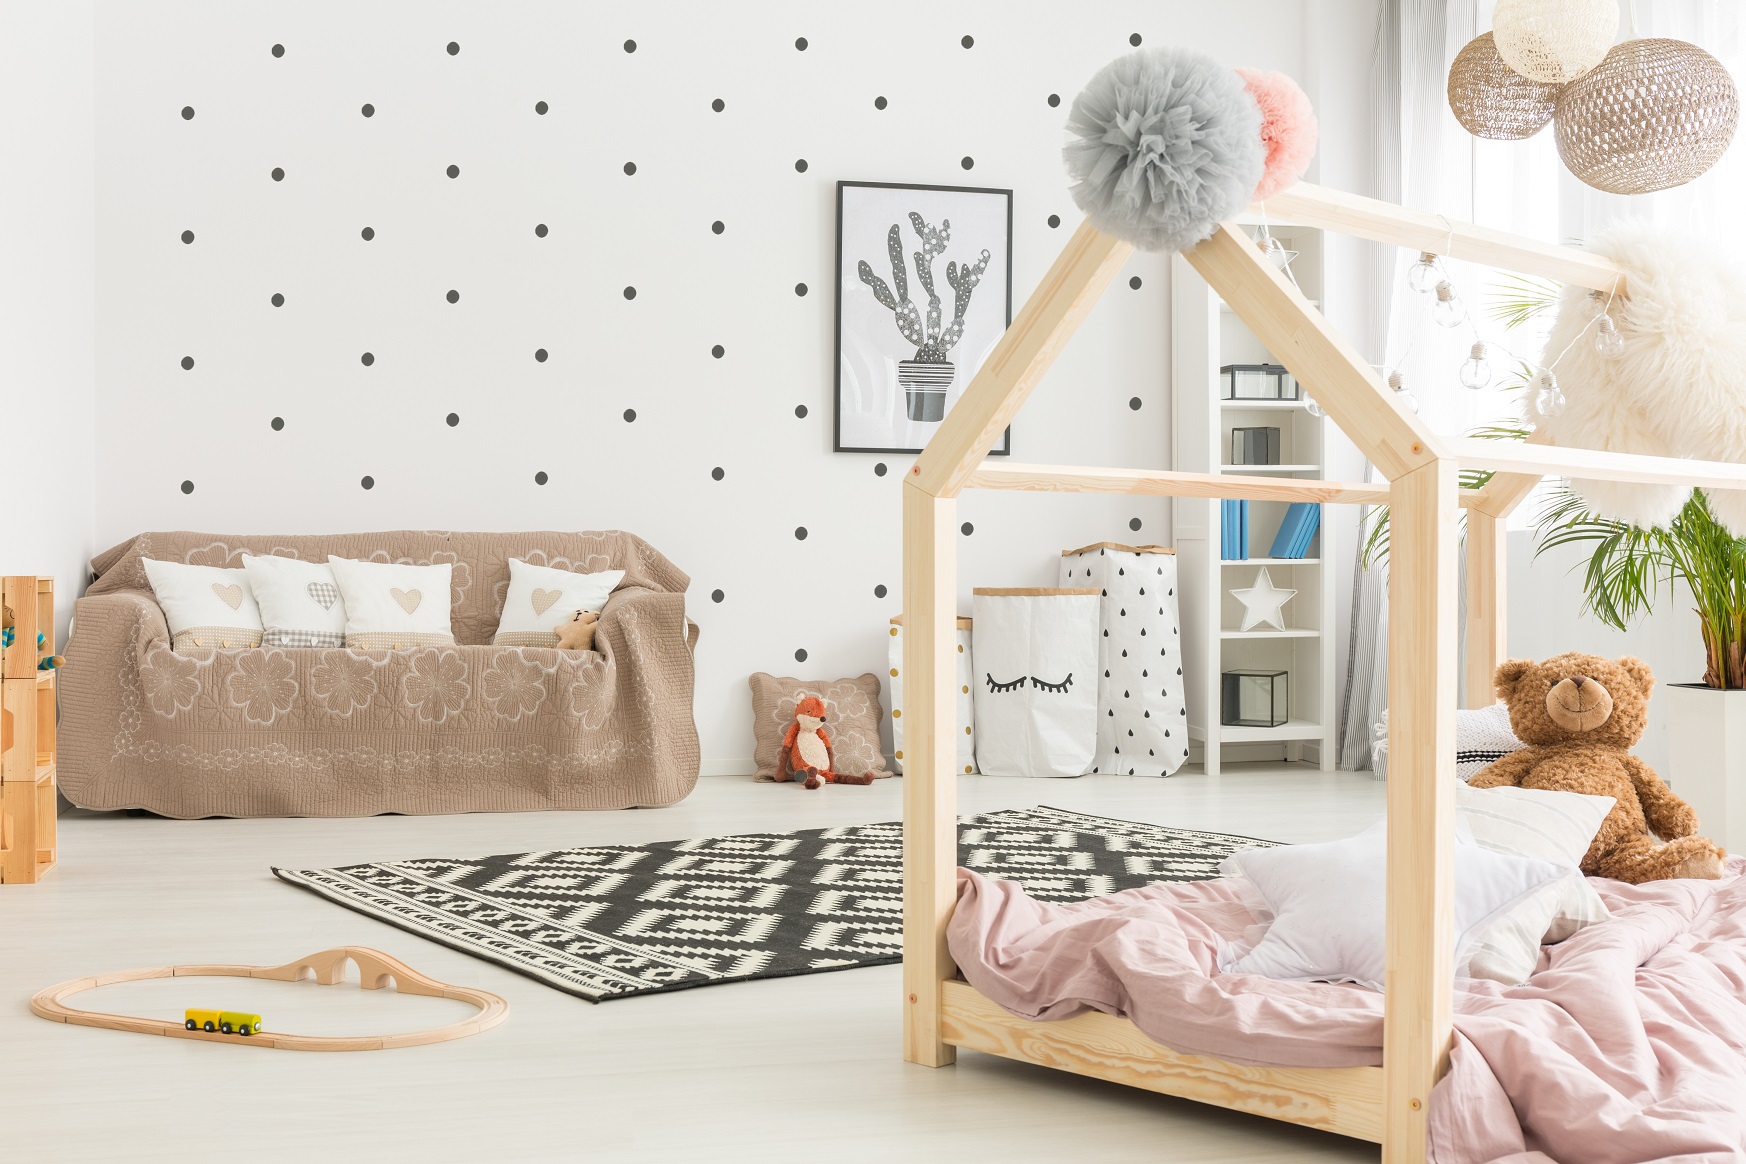
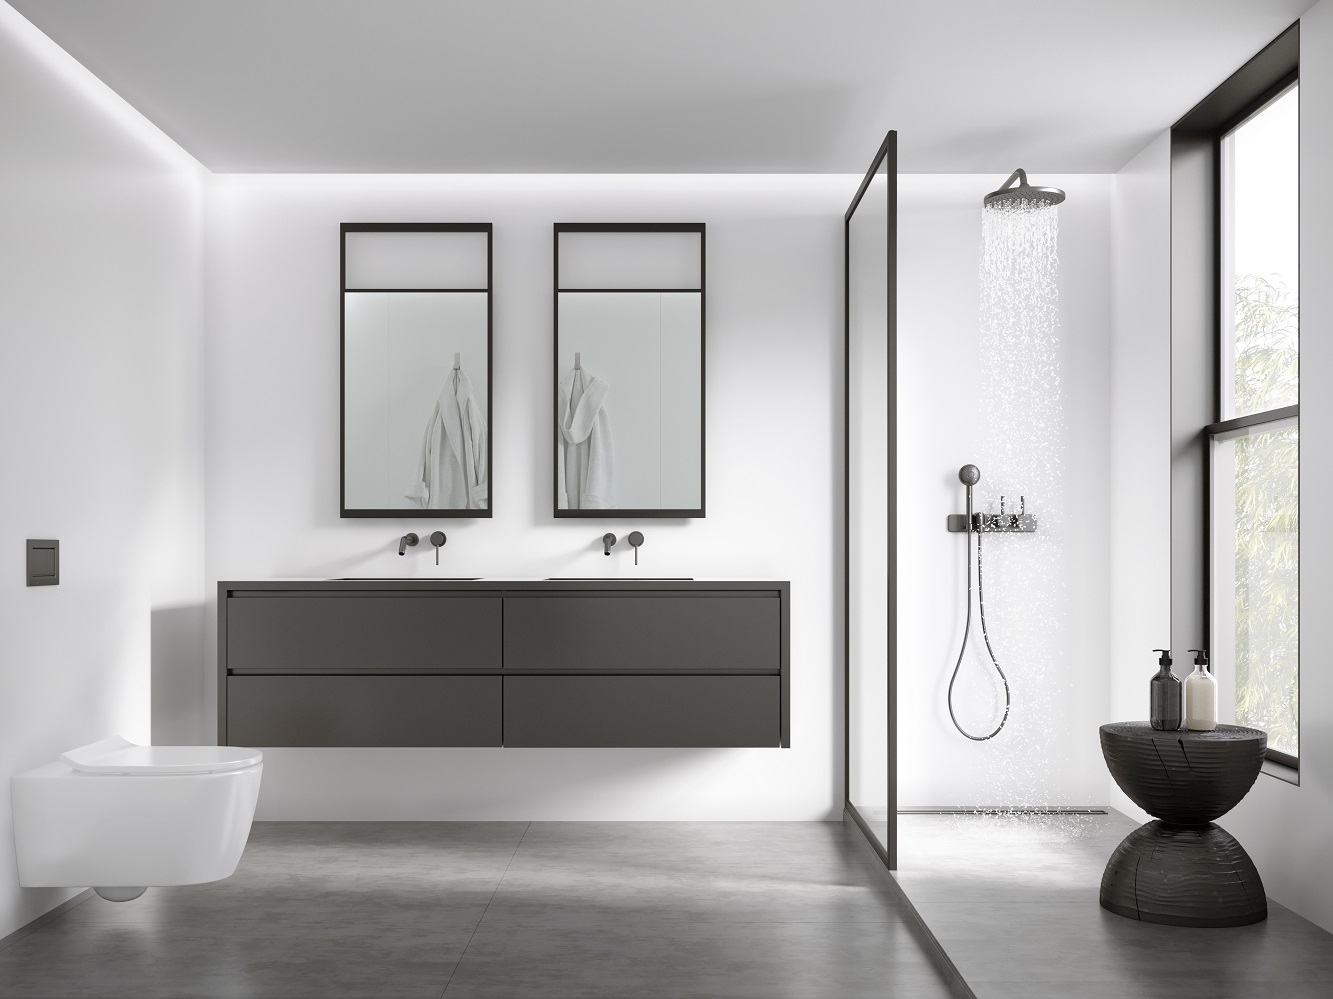
A PU cast floor gives comfort and is ideal for applications in the living room, kitchen or bathroom . PU is completely odorless so you can apply it without any problem in enclosed spaces. These cast floors are dyed by the manufacturer in order to obtain an even color.
You have two types of PU cast floors: a self-leveling type, which you need to finish with a top coat and a UV-resistant type, which you need to finish with a colorless top coat. Applying a PU cast floor is perfect when you are renovating because you don't have to break out the old tiles. A polyurethane cast floor is applied in an average layer thickness of 1.5 to 4 mm.
On which types of surfaces is it possible to place PU cast floors?
You can place a PU cast floor on almost any surface as long as it's dry and dust-free. Whether it is concrete, screed, tile or wood, for each application you need to make the proper preparation. For example, a laminate made of fiberglass-reinforced polyester will be placed on the seams of two wood boards. The right primer or adhesive layer will also be determined according to the surface.
You should pay special attention that before you install a cast floor, the surface is dry and solid. On loose tiles you cannot work with a PU cast floor. In that case you will have to glue the tiles first. Furthermore, your surface must be relatively even. If it is not even, a levelling layer will have to be applied first to limit the costs of your cast floor. All irregularities must also be eliminated. If there are large holes in your subfloor, we recommend filling them with mortar or filler first.
Installing a PU cast floor
When it comes to installing a PU cast floor, you can choose to do it yourself, or have it done by a professional. Much depends on the type of floor and the finish you choose. For example, you need to choose the right color beforehand. Will you choose a mono color or do you prefer a mixture of colors? This will affect the finish. In the second case, you will have to use a colorless top layer.
You start by preparing the surface. This can mean sanding, filling, installing fiberglass, filling joints and holes, and removing or installing baseboards. In the last case, you pour the screed all the way up to the baseboard so your floor appears to blend into the wall.
In most cases, you should now apply a primer or adhesive layer. This ensures an optimal connection between the surface and the cast floor. Then the scraping layer is poured. This layer serves to fill in any unevenness and already slightly flatten the surface. After this, it can be polished and other smaller imperfections or holes can be filled.
After that, you apply the actual cast floor. In a thick enough layer that will level itself and therefore will pull level to the surface. All that remains to be done now is to use a spiked roller to roll out the trapped air bubbles. This is quite quick and easy, but an absolute necessity to obtain a smooth and tight surface.
Finishing is done by applying a top coat. The goal is to improve the UV resistance, increase the scratch resistance and eliminate any imperfections in your cast floor. The time you will need to apply and finish a PU cast floor is approximately 3 to 5 days for a surface area of 100m².
More Info
Feel free to contact us to receive more info about our products.