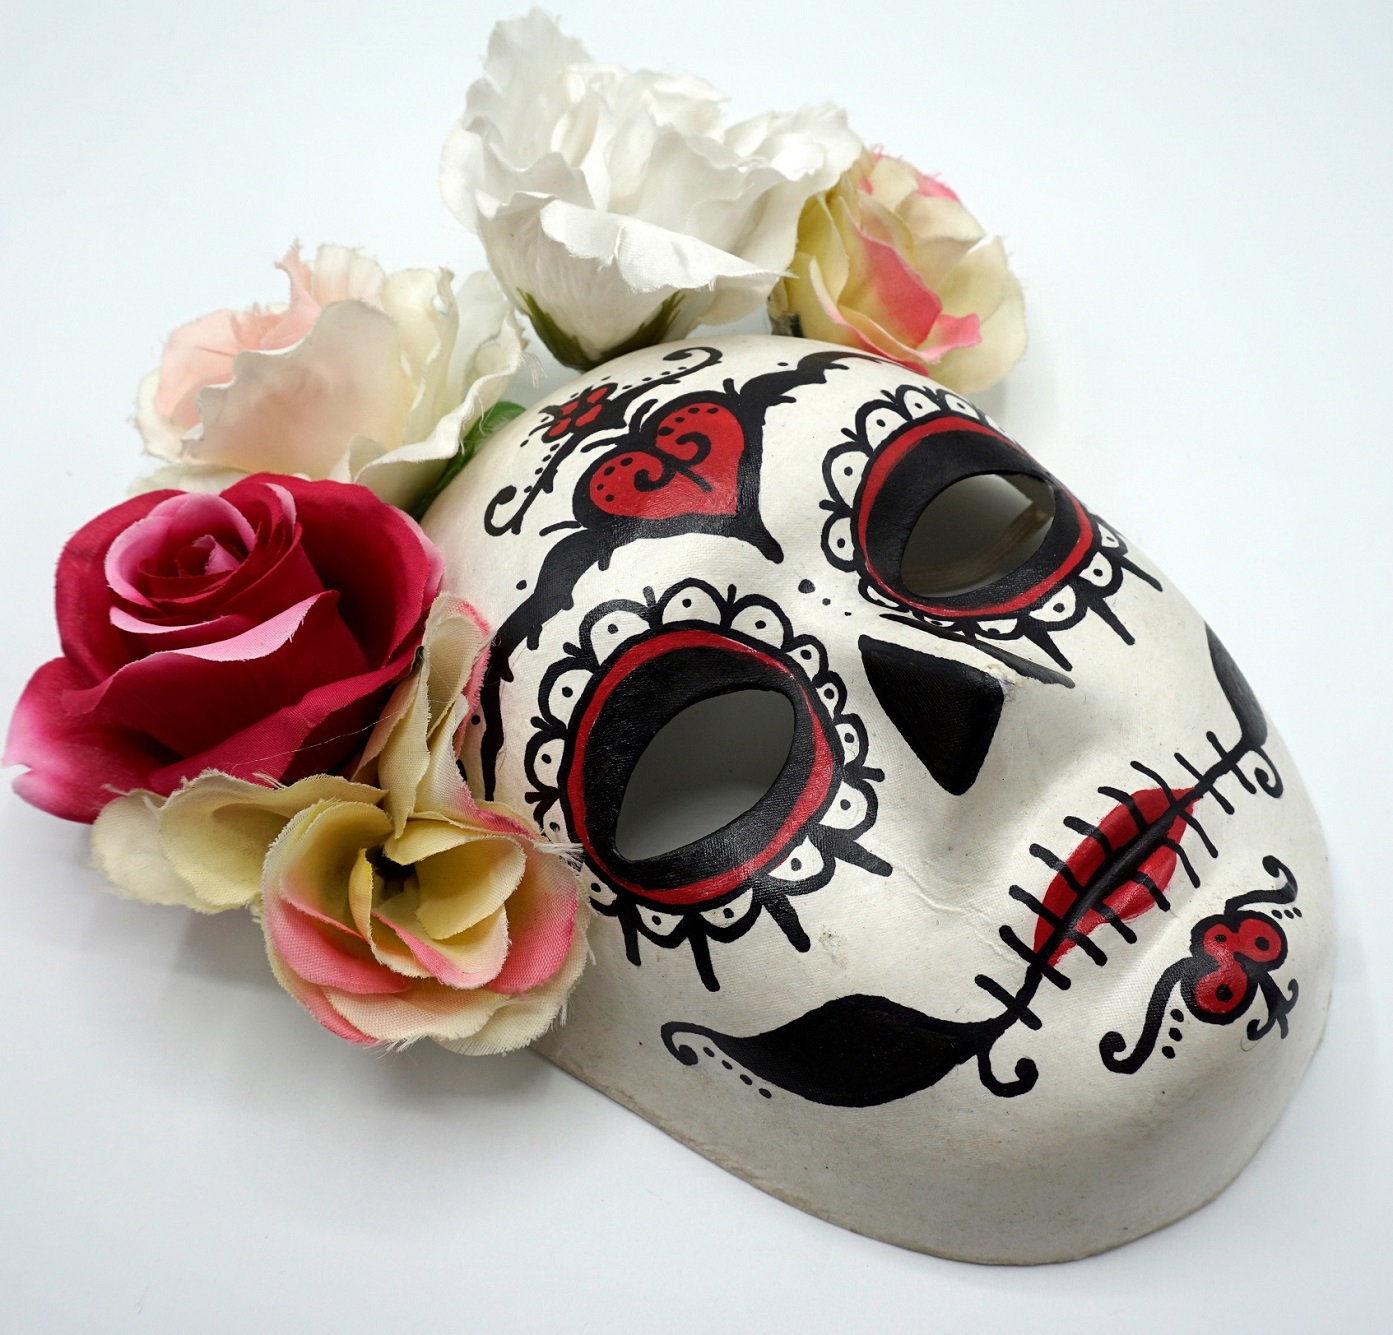
Making a unique mask is easy
You make a mould of a face and pour in the material that forms your mask.
But how do you get started and what do you need for this? You will find out in this article.
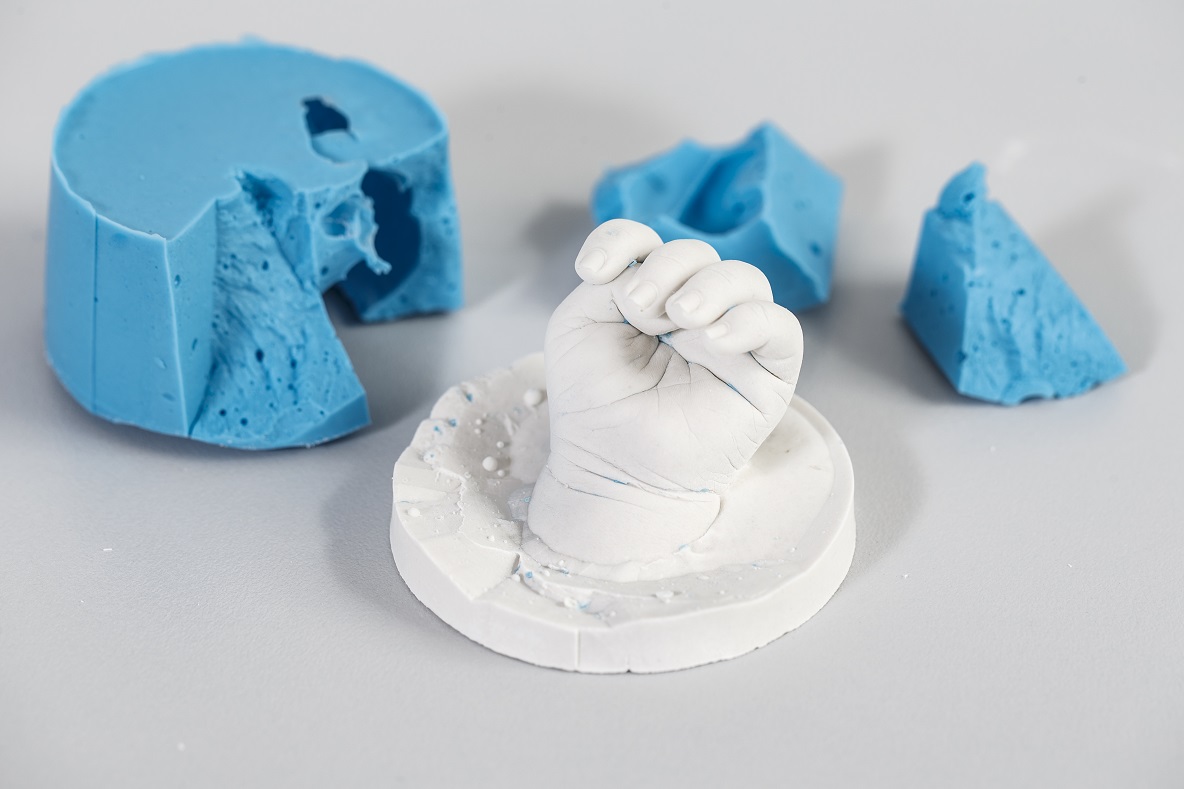
You should always start by creating a mould.
The best moulds are made from alginate, a natural product that is completely harmless to the skin.
How do you make a mould for your mask?
- STEP 1: You start by preparing the model by covering the eyelashes, eyebrows and other facial hair with a thin layer of Vaseline. Give your model a bathing cap so that the head hairs do not get stuck in the mould.
- STEP 2: Once your model is ready, you can start preparing the alginate. You do this by mixing the desired amount of alginate powder with 2 to 3 times as much water. Always mix the powder into the water and not the other way around to prevent lumps. Then stir the mixture vigorously with a kitchen whisk or mixer.
Make sure to avoid air bubbles. After mixing well, you have 10 minutes to apply the alginate to the skin. Is there not enough time? Then make a new mixture and continue on the previous layer.
- STEP 3: Apply the Alginate to the skin. This is best done with a spatula. This way you can smoothen the mass nicely.
- STEP 4: Is the alginate sufficiently gelled? Great, then we can start applying the support mould. It is best to reinforce the mould using pre-treated plaster bands.
- STEP 5: When your mould has fully hardened, carefully remove it from the model. Caution: if you remove the plaster mould from the model with it, you will only have a limited amount of time to cast your first impression. Use a water-compatible material for this. You can therefore use casting plaster or Zellaan to cast your first mask.
ATTENTION:
- Applying and curing the mould can take up to 30 minutes.
- As the alginate mould is made of water, it may dry out and become brittle over time.